File Validity
The File Validity feature allows you to automate the lifecycle of documents and files stored in BrandCloud. You can define an exact time period during which they are valid and determine what should happen to them after this period expires (disable downloading, hide them, or move them to the trash).
Important information before you start:
- Setting validity is only available for users with the Admin and Editor roles.
- Validity always applies to individual files, not to entire folders.
- Once you set the validity, it is activated immediately.
How to set file validity
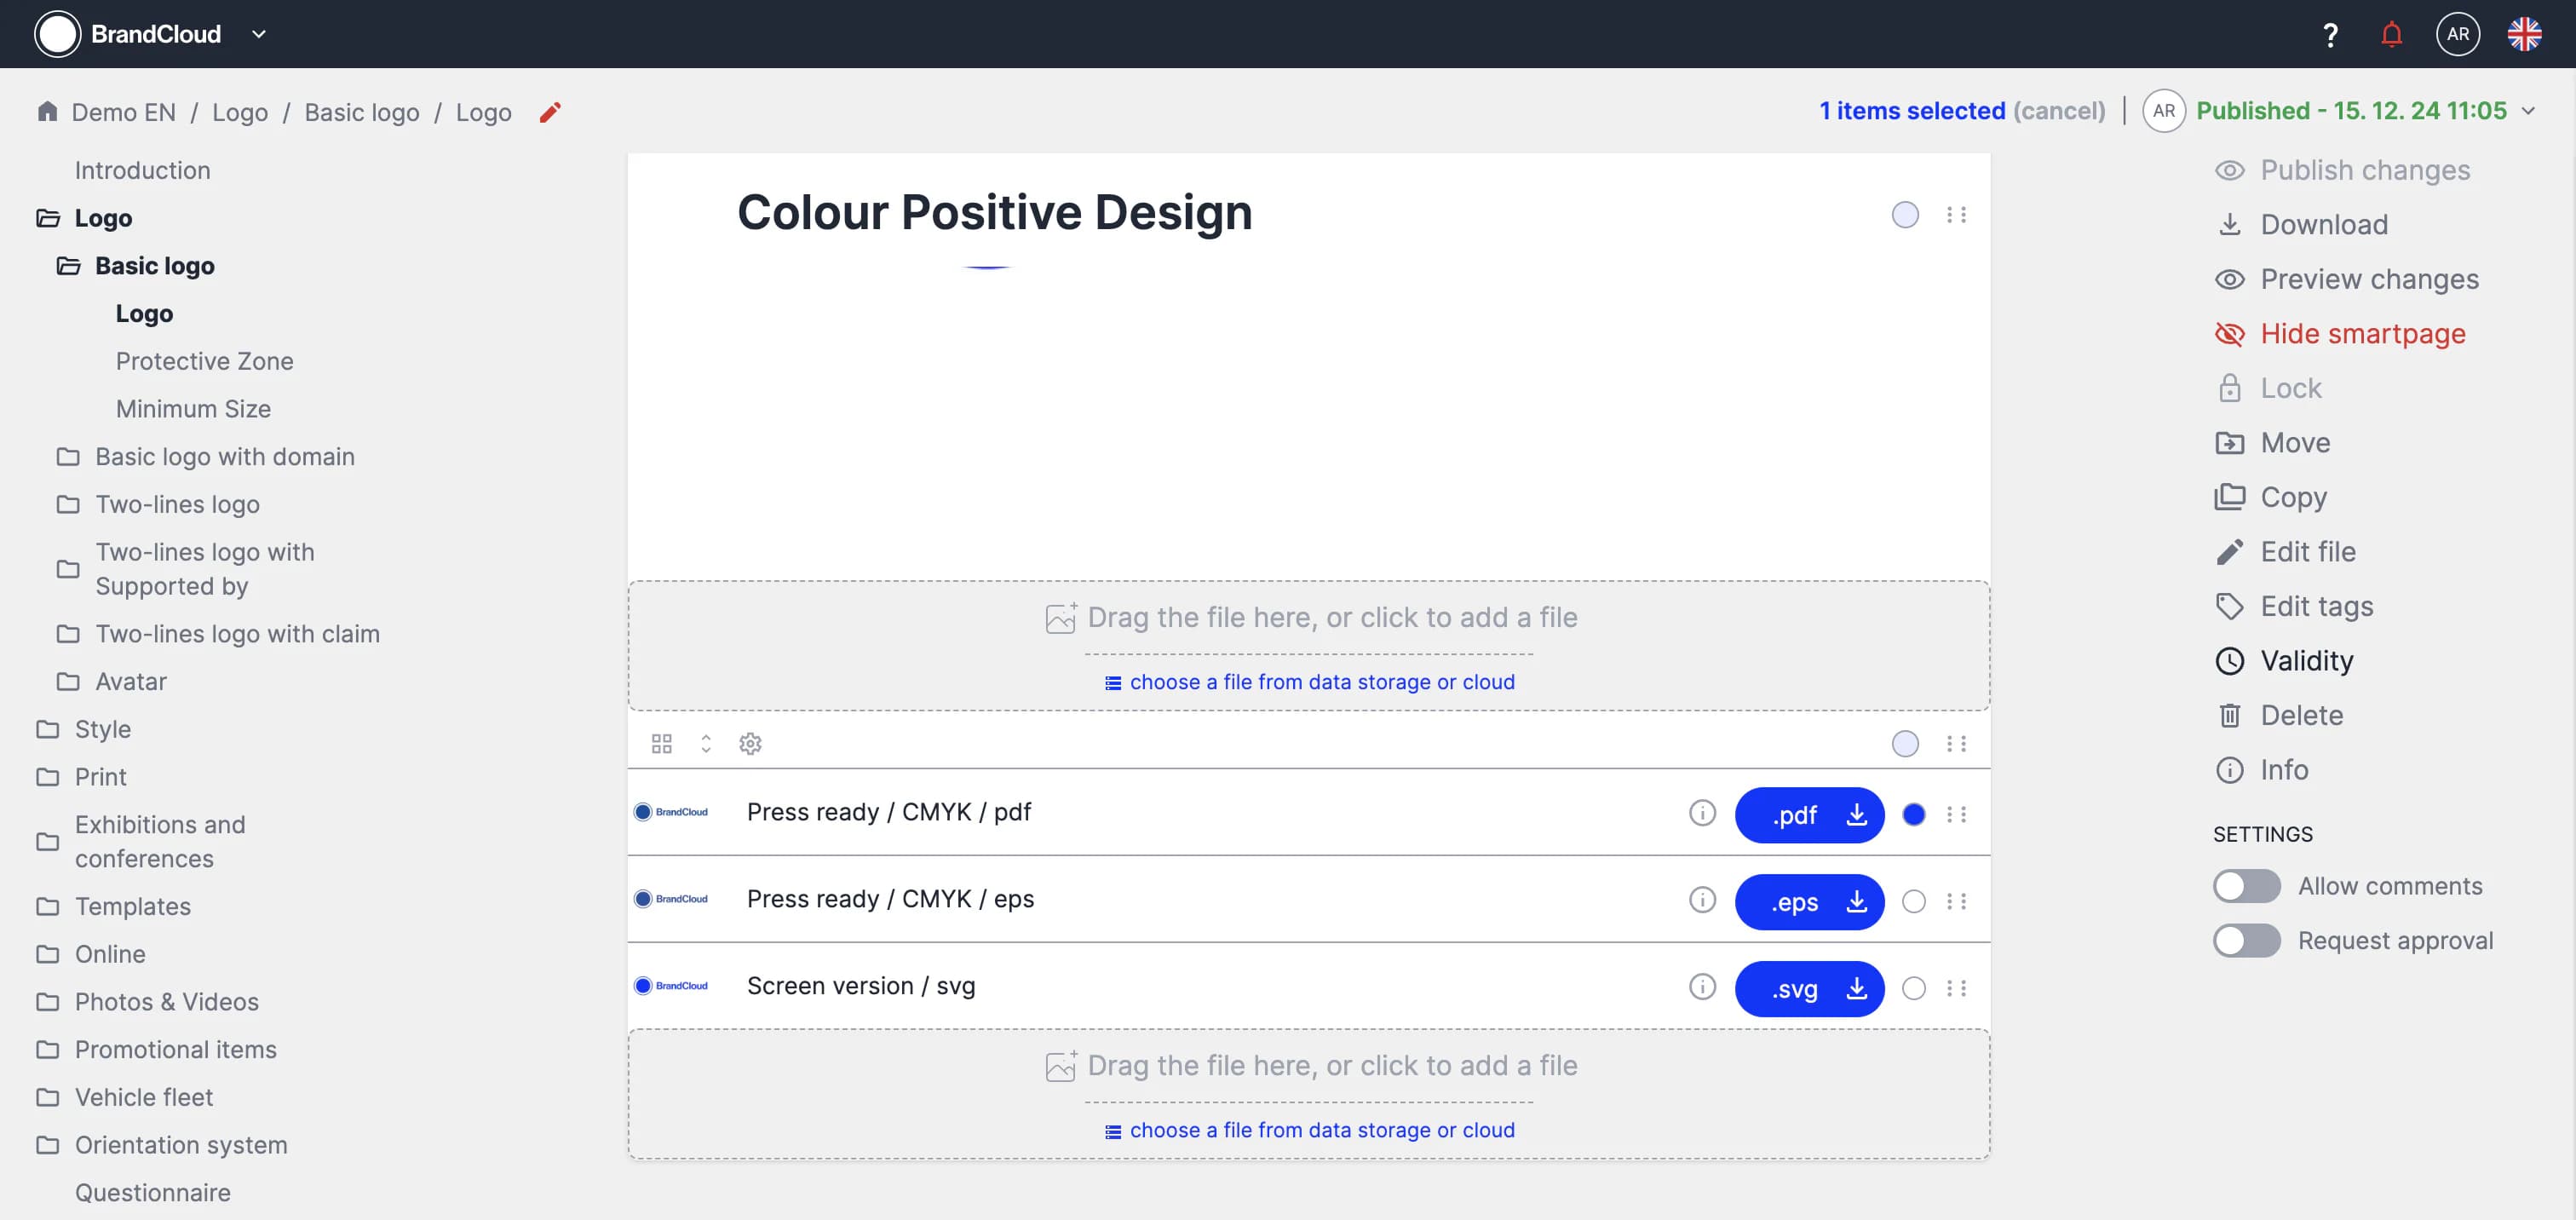
The feature is available both on a smartpage and in the data storage. You can apply the settings to one or multiple files simultaneously.
- Select the desired file (or multiple files).
- In the right menu, click the Validity button. If no file is selected, the button is inactive.
- A window for setting the validity parameters will open.
Detailed settings
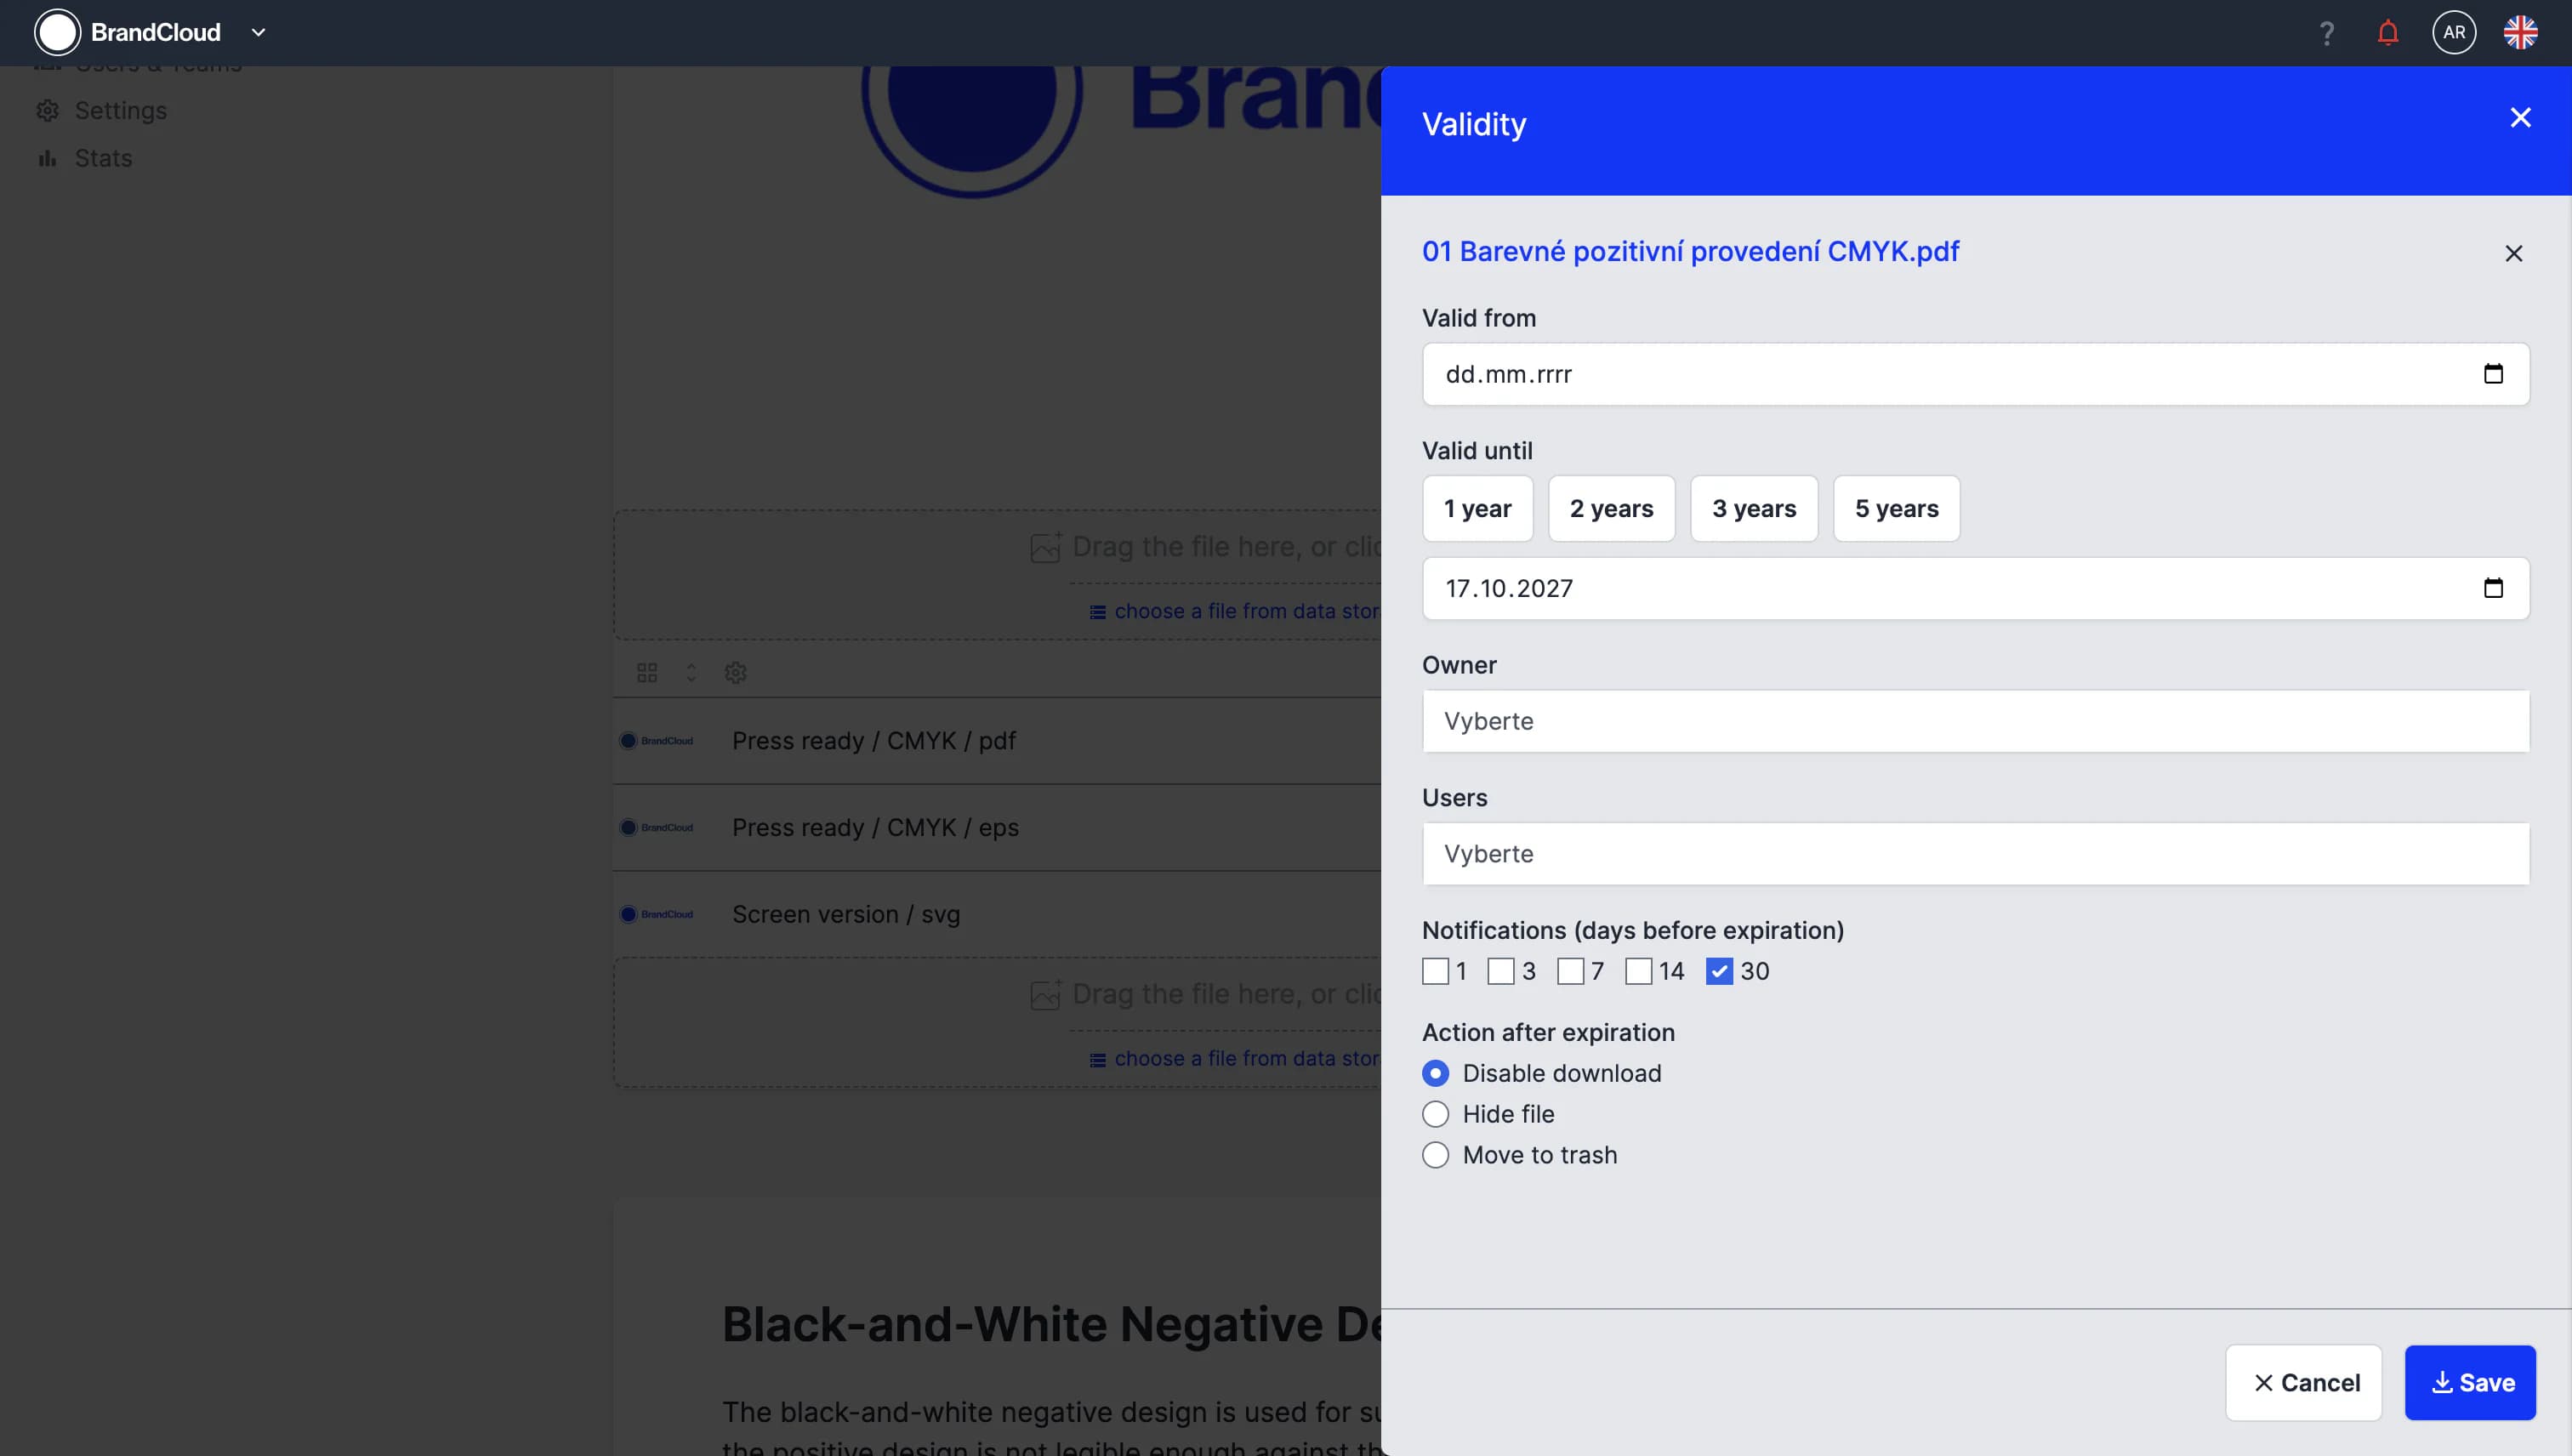
At the top of the window is a list of selected files to which the settings apply. Below that, you fill in the following parameters:
- Valid from / to: Choose whether the validity starts today or from a custom date. The end of validity can be selected from presets (1, 2, 3, 5 years) or you can enter an exact date.
- Owner: Optionally, you can assign an existing team or specific users who are responsible for the file.
- Users: An optional field for selecting teams or users affected by the file. They will also receive notifications about its status.
- Only users who have access to the file (at the folder level) can be selected.
- Notifications: Choose how far in advance the system should notify about the approaching expiration (1 day, 7 days, 30 days in advance, or a custom number of days). You can select multiple options at once. The notification will be sent to the assigned owners and users via email.
Action after expiration
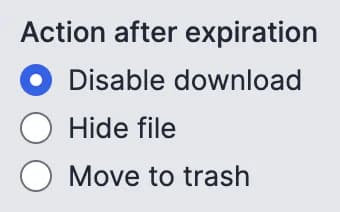
A key part of the setting is choosing the action that occurs when the file expires. Choose one of the following options:
- Disable downloading: The file remains normally visible to users, but the download button is disabled. Only Admins and Editors will still be able to download it.
- Hide file: The file completely disappears from normal view. It will remain visible (highlighted in gray) only for the Admin and Editor roles.
- Move to trash: After expiration, the file is automatically moved to the trash (soft delete) and behaves the same as if it were deleted manually.
Bulk settings and editing
- Bulk settings: If you select multiple files at once, the validity is applied to all selected items identically (overwriting any existing settings). You will see a list of the selected files in the window so you have an overview in case the current validity differs for some of them.
- Retrospective editing: When you select a single file and click on Validity, a window opens pre-filled with the currently set values. Here you can easily modify them.
Visual indication
To make it clear at first glance that a file has limited validity, the system uses several visual elements and warnings:
How do I recognize a file with validity?
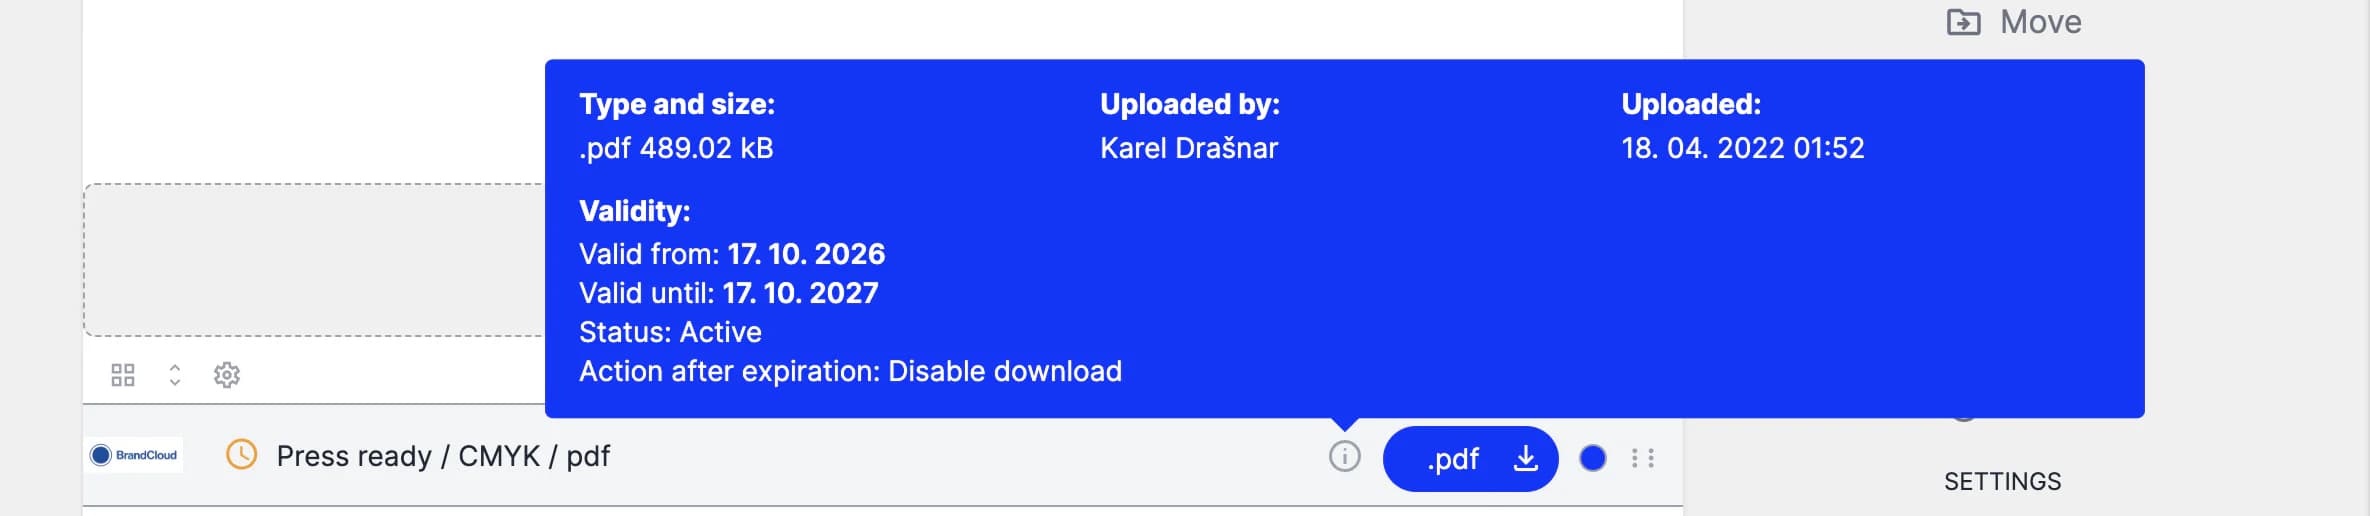
- Clock icon: Displayed next to the file name (on a smartpage) or as a badge on the card/in the table (in data storage).
- Metadata (on hover): Hovering over the file information displays:
- expiration date,
- current status (active / pending start / expired - in red),
- selected action after expiration.