Public User
Public user access makes selected folders visible to anyone without logging in. When public access is enabled, visitors who open your BrandCloud URL first see the public structure instead of the login page.
Setting up public user access
1. Create a team and assign access only to the folders you want to make public.
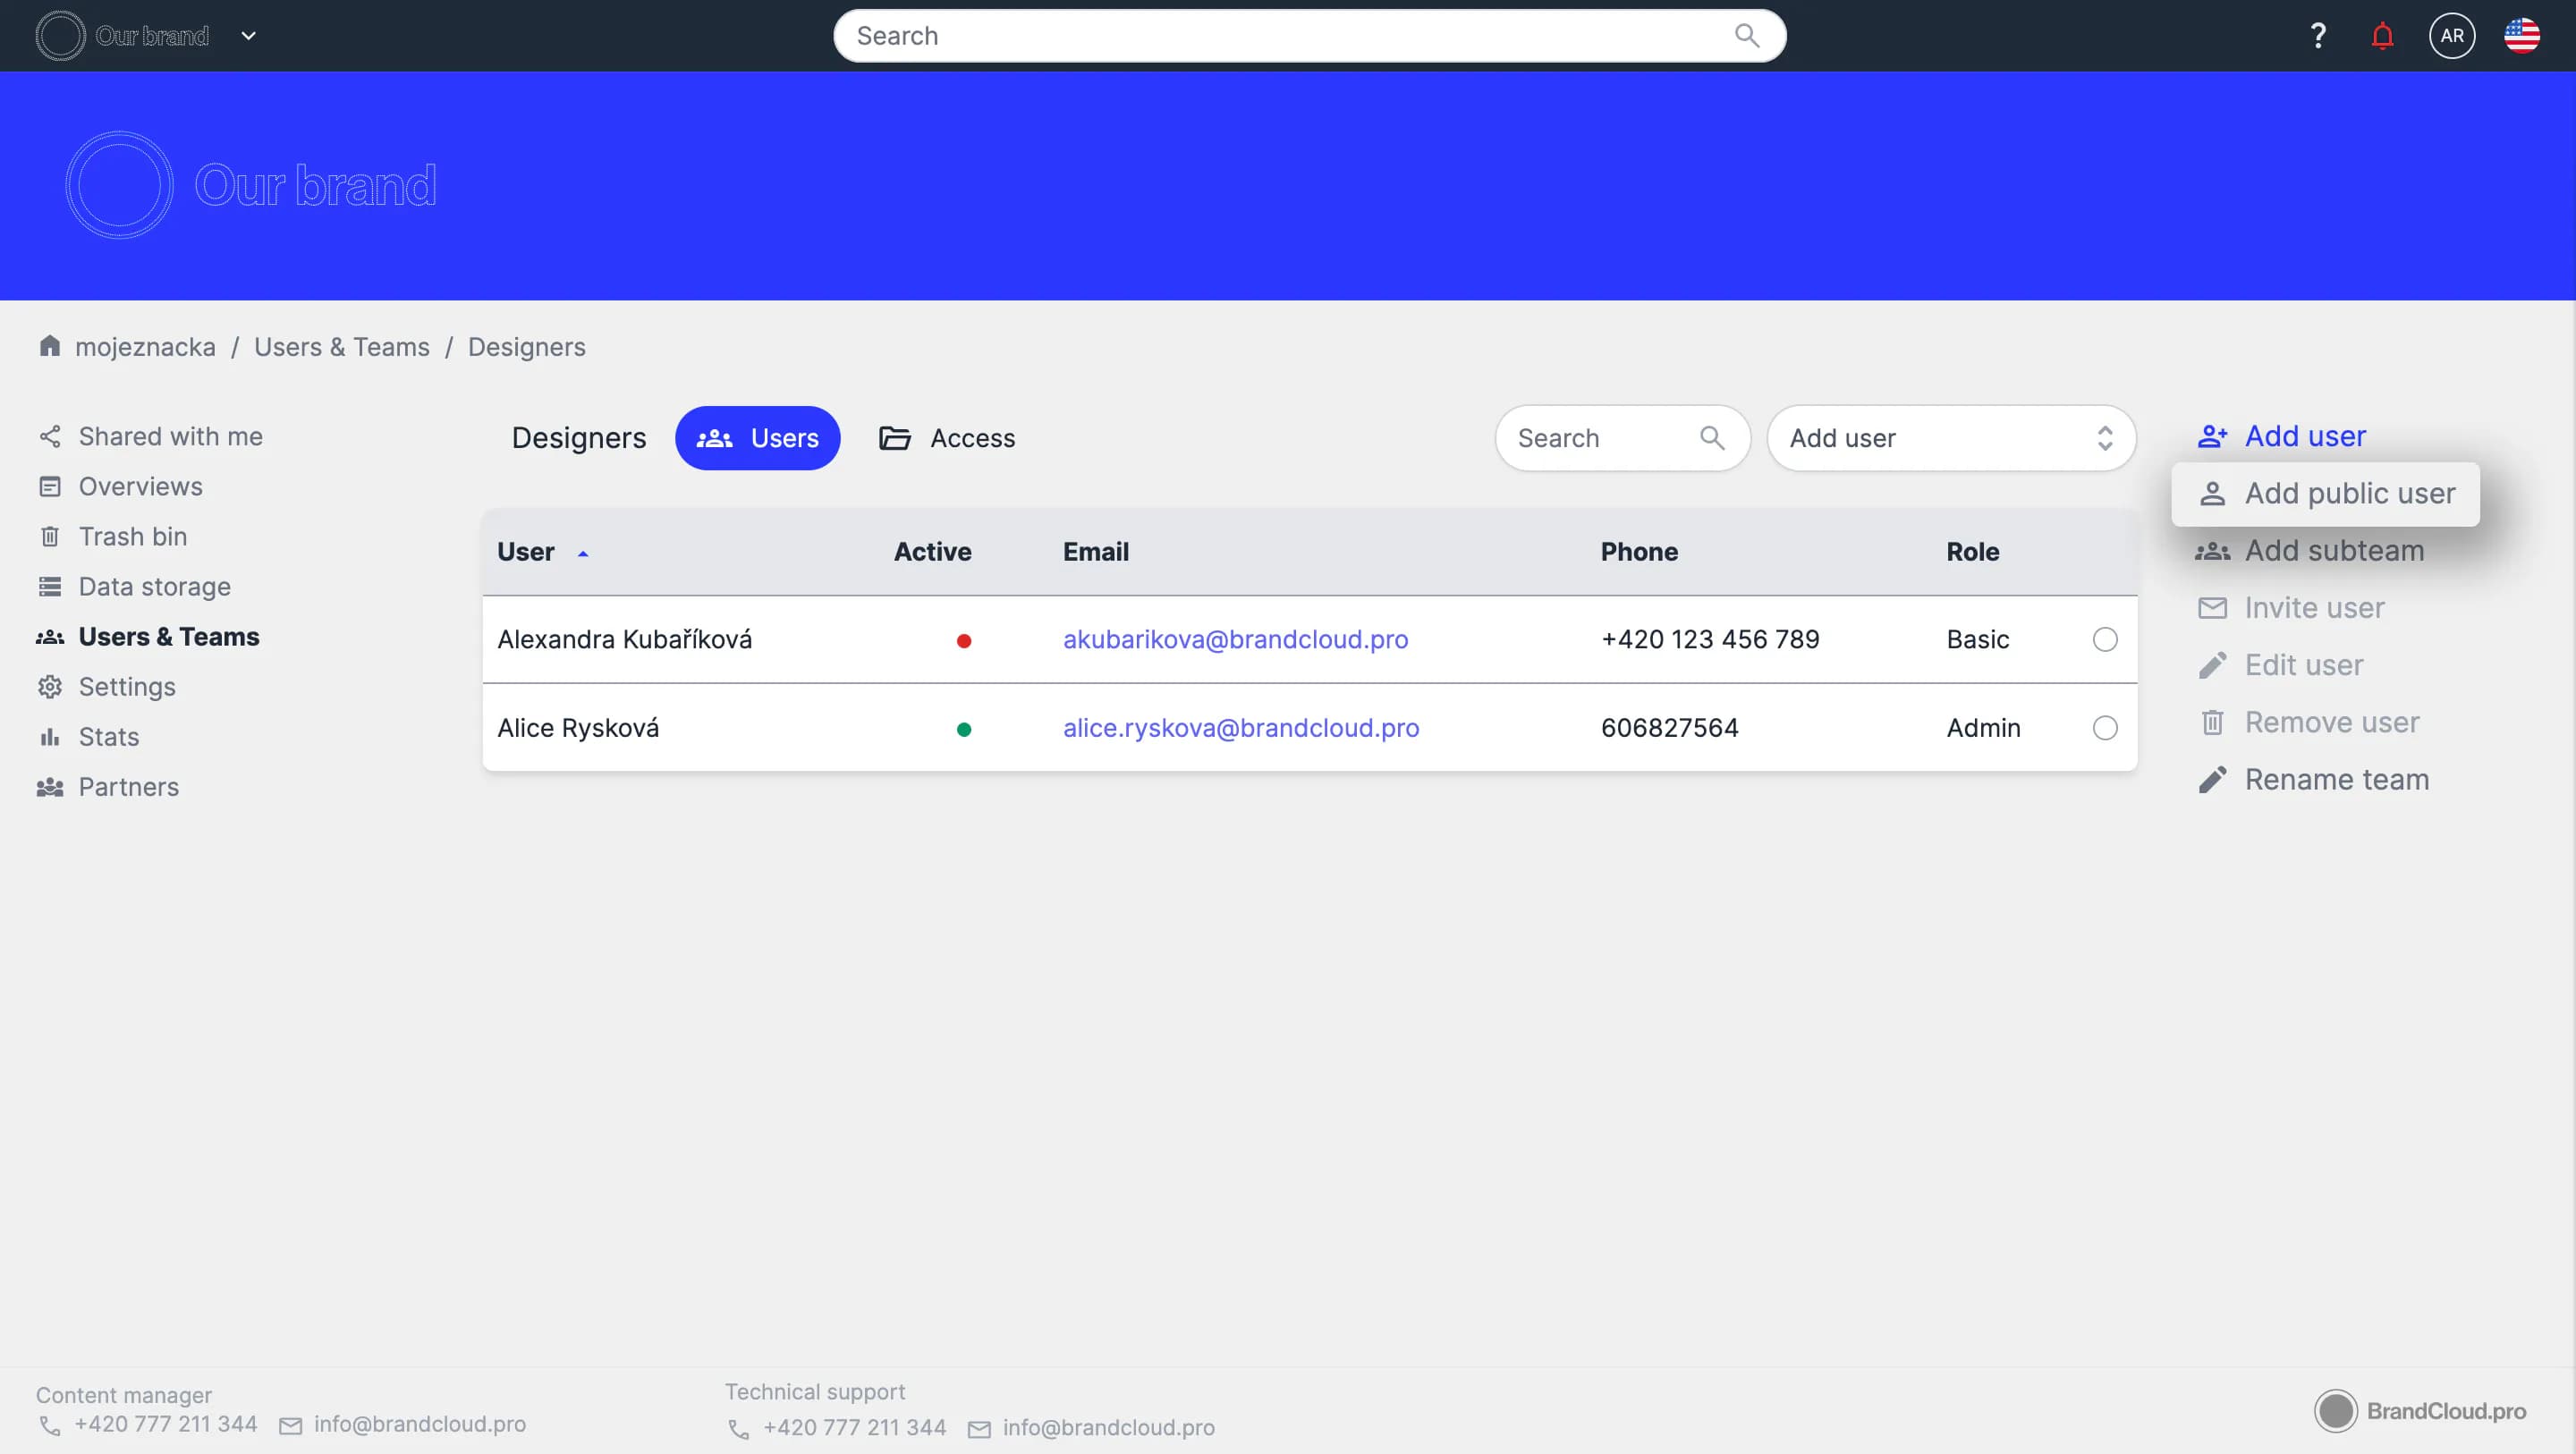
2. In the right column of the team, select Add public user.
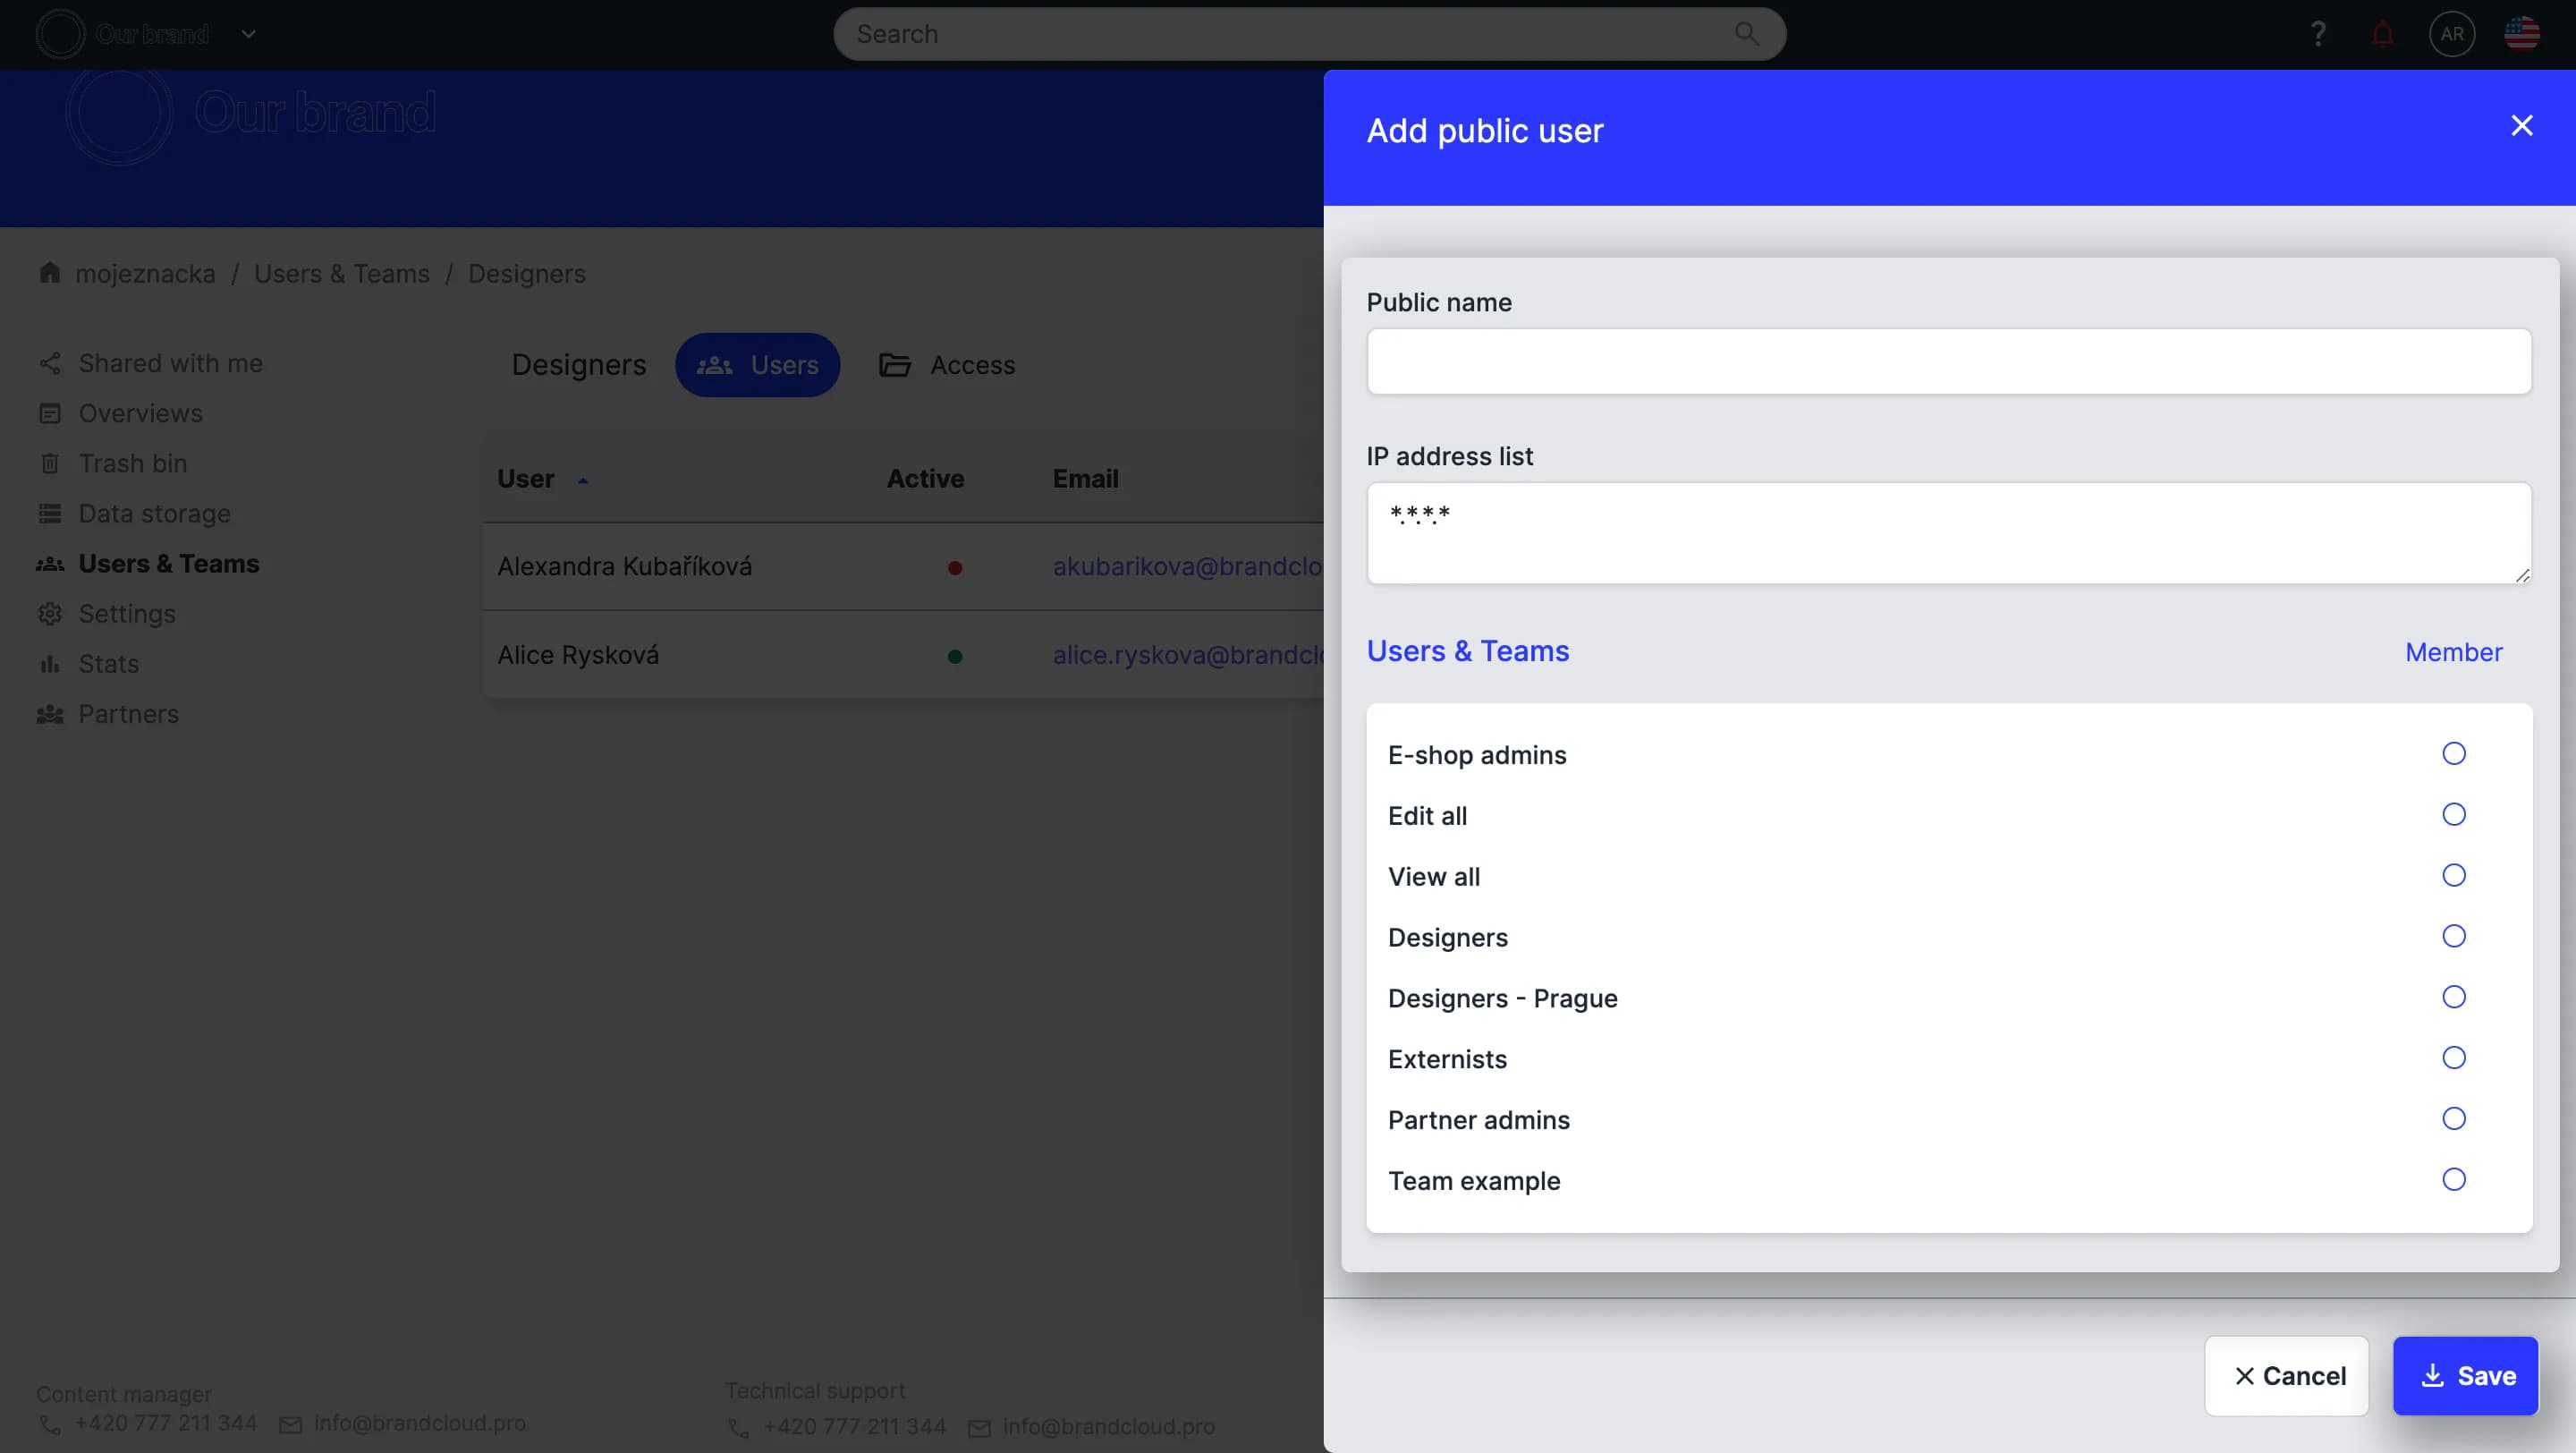
3. Enter the public name, an optional IP address list, and assign the public user to one or more teams.
- Use the IP address list only if you want to limit public access to a specific location.
4. Select Save to confirm the public access settings.
Important notes
- Users can view the defined structure without logging in or creating an account.
- You can limit public access to specific locations using IP addresses.
- Public access can be combined with a dropzone in a document to allow file uploads without requiring user accounts.
- If no IP addresses are defined, any visitor can access the visible content.
- Make sure you only include content that you intend to make publicly available.
Capabilities of public users
Public users can view the selected structure and download assets if allowed.
If a document contains a dropzone, public users can upload files through that dropzone.
They cannot edit content or modify the structure.
Multiple public users
You can create several public users with different access scopes.
Example configuration:
- One public user with access for all visitors, allowing them to view and download selected content.
- One or more public users restricted by IP address (e.g., office networks), allowing broader access and full download rights.
Public access can serve various use cases and reduce the need for manual sharing. Visitors only need the BrandCloud URL to access the content assigned to them.