Creating and Stocking Products
Documents allow you to create product catalogues or pages that present products for internal or external use.
1) Creating a document with products
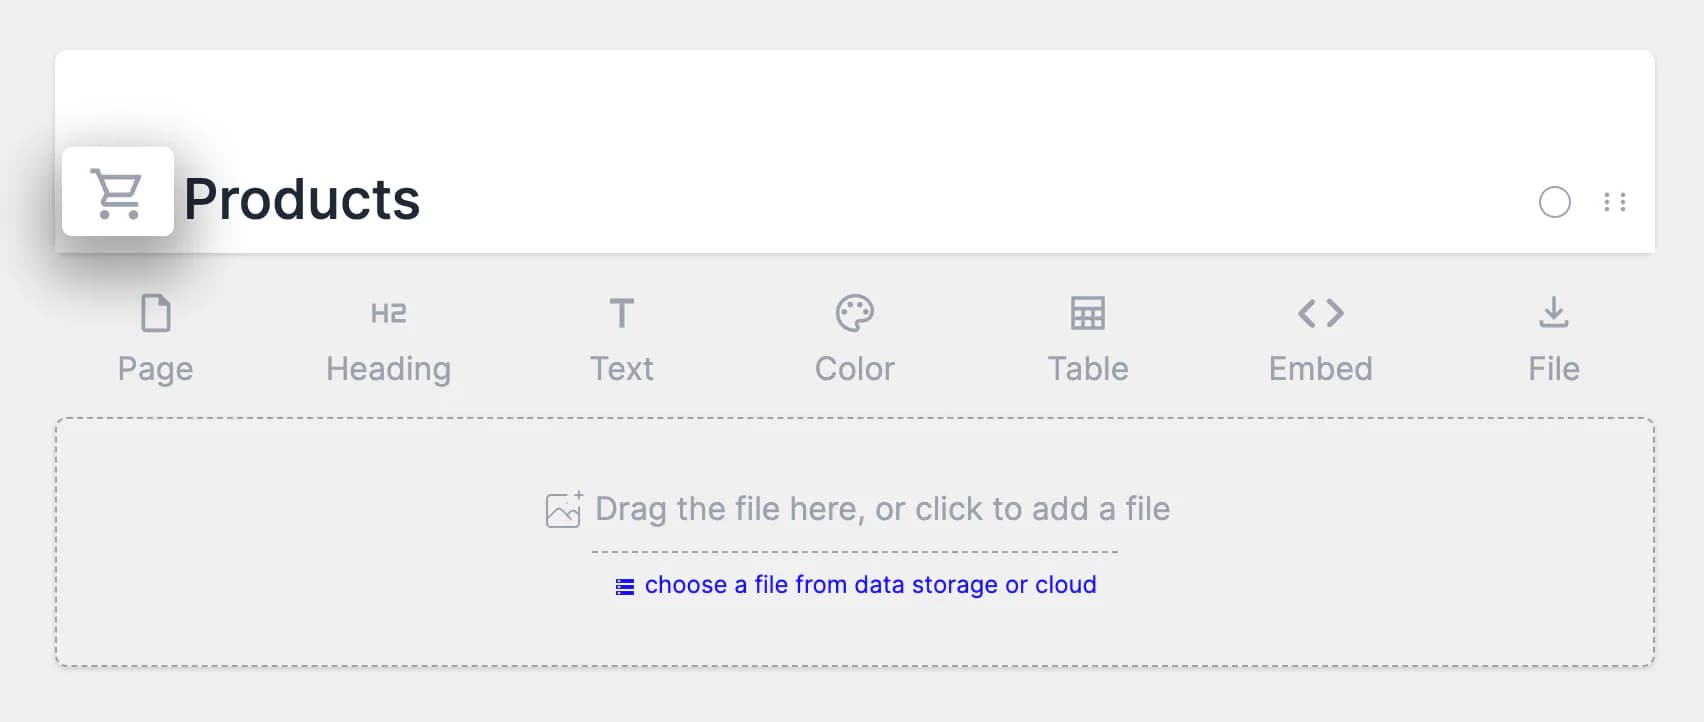
- Create a new smartpage and assign a name.
- Select the cart icon next to the smartpage name to add a product listing element.
3. Add any number of products and specify their details, including code (required for stocking), name, and price.
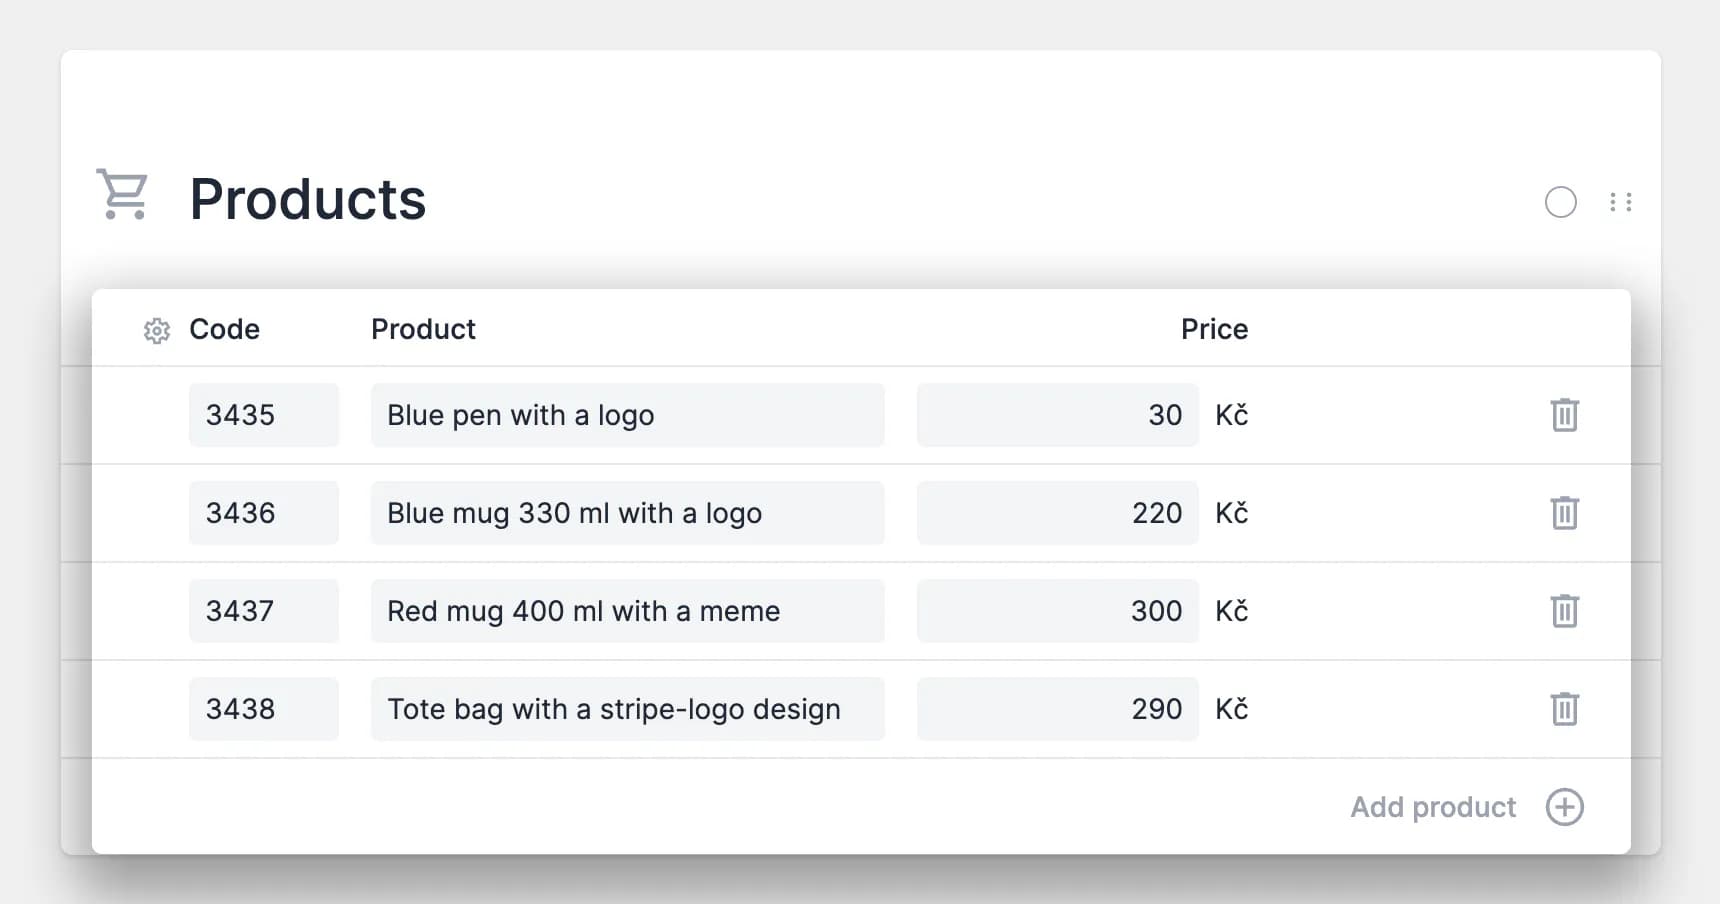
4. Add additional elements to the smartpage as needed. You can use multiple Page elements to separate product categories or structure the content.
5. Publish the smartpage.
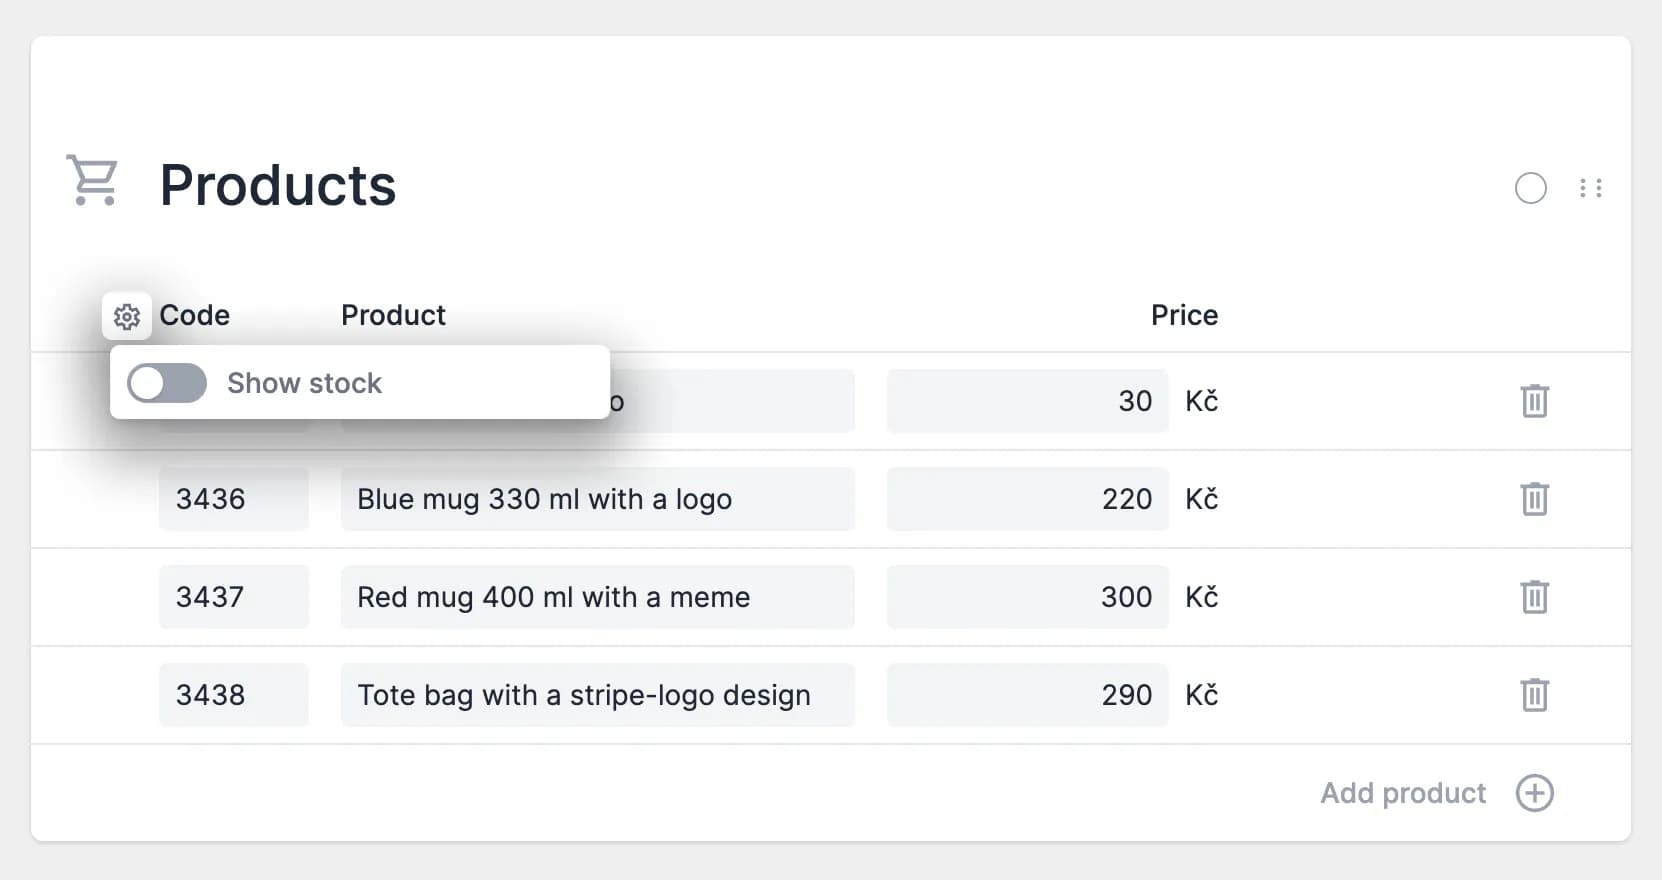
You can view stock levels by enabling the stock status toggle under the settings icon. Stock levels appear automatically once products are stocked.
2) Stocking created products
After creating the products, you can assign stock.
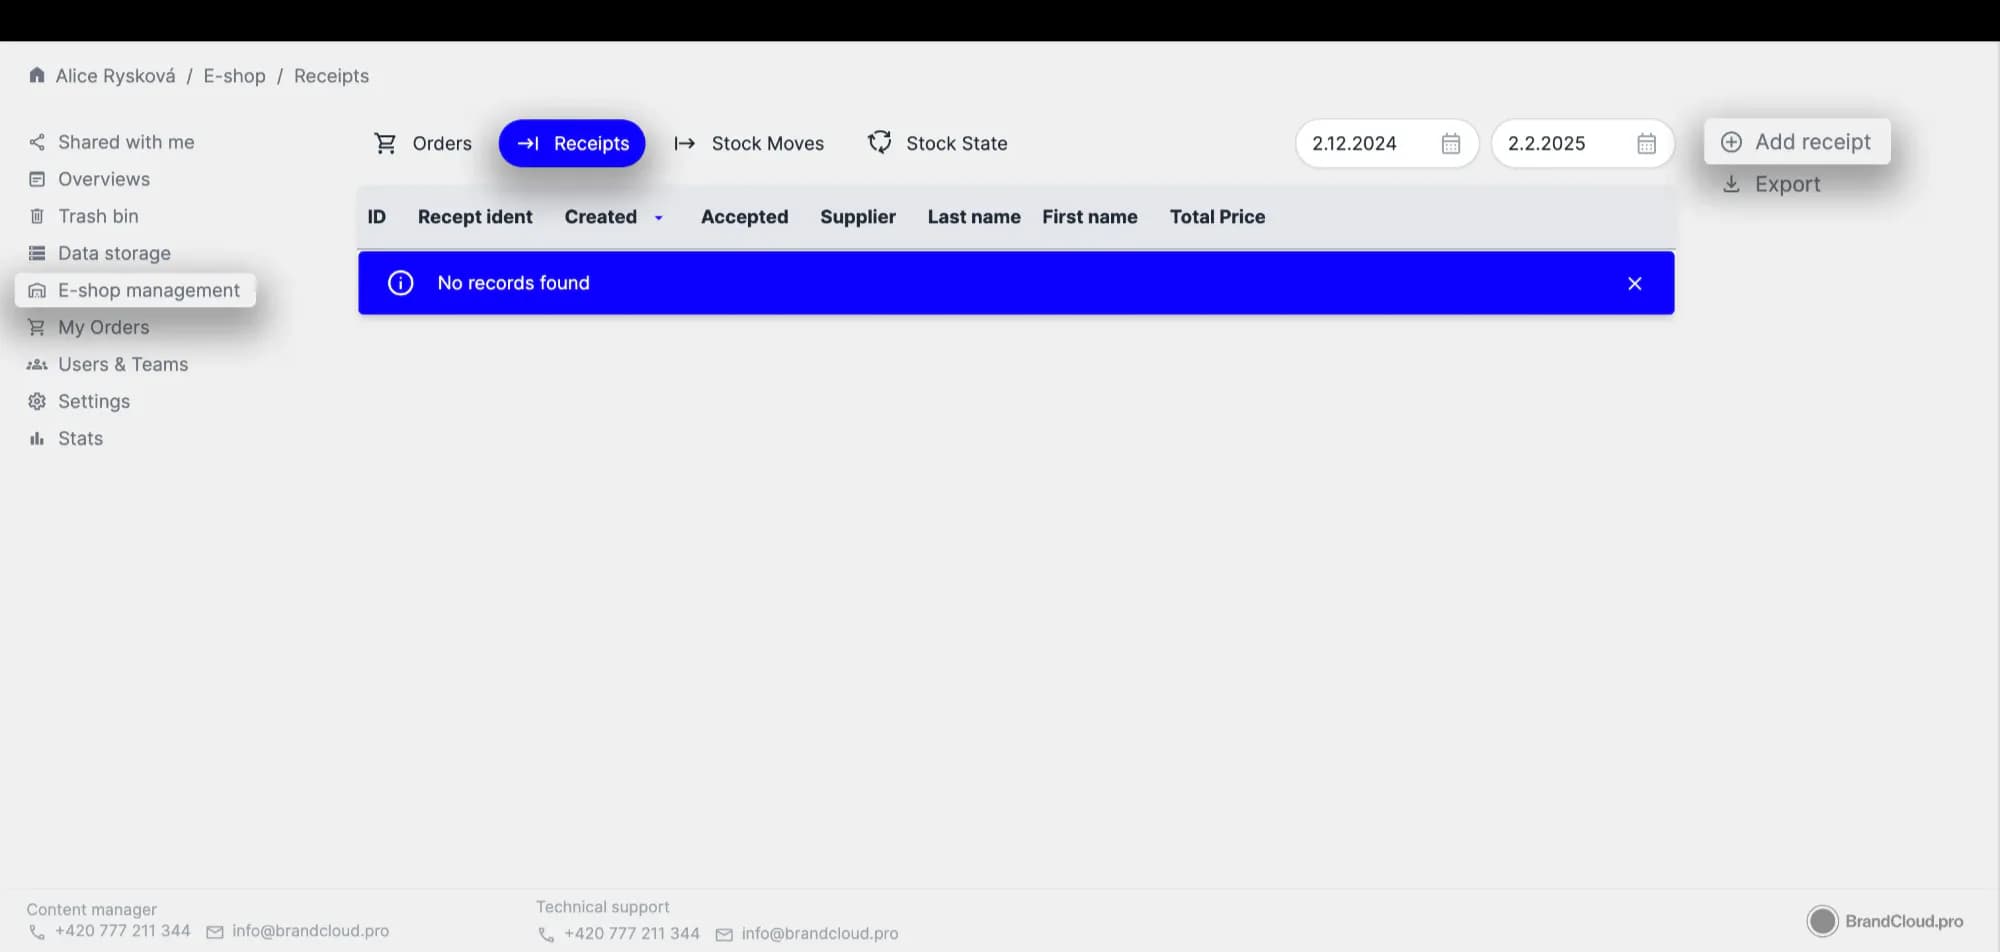
- In the left panel, open E-shop management.
- Select the Receipts tab.
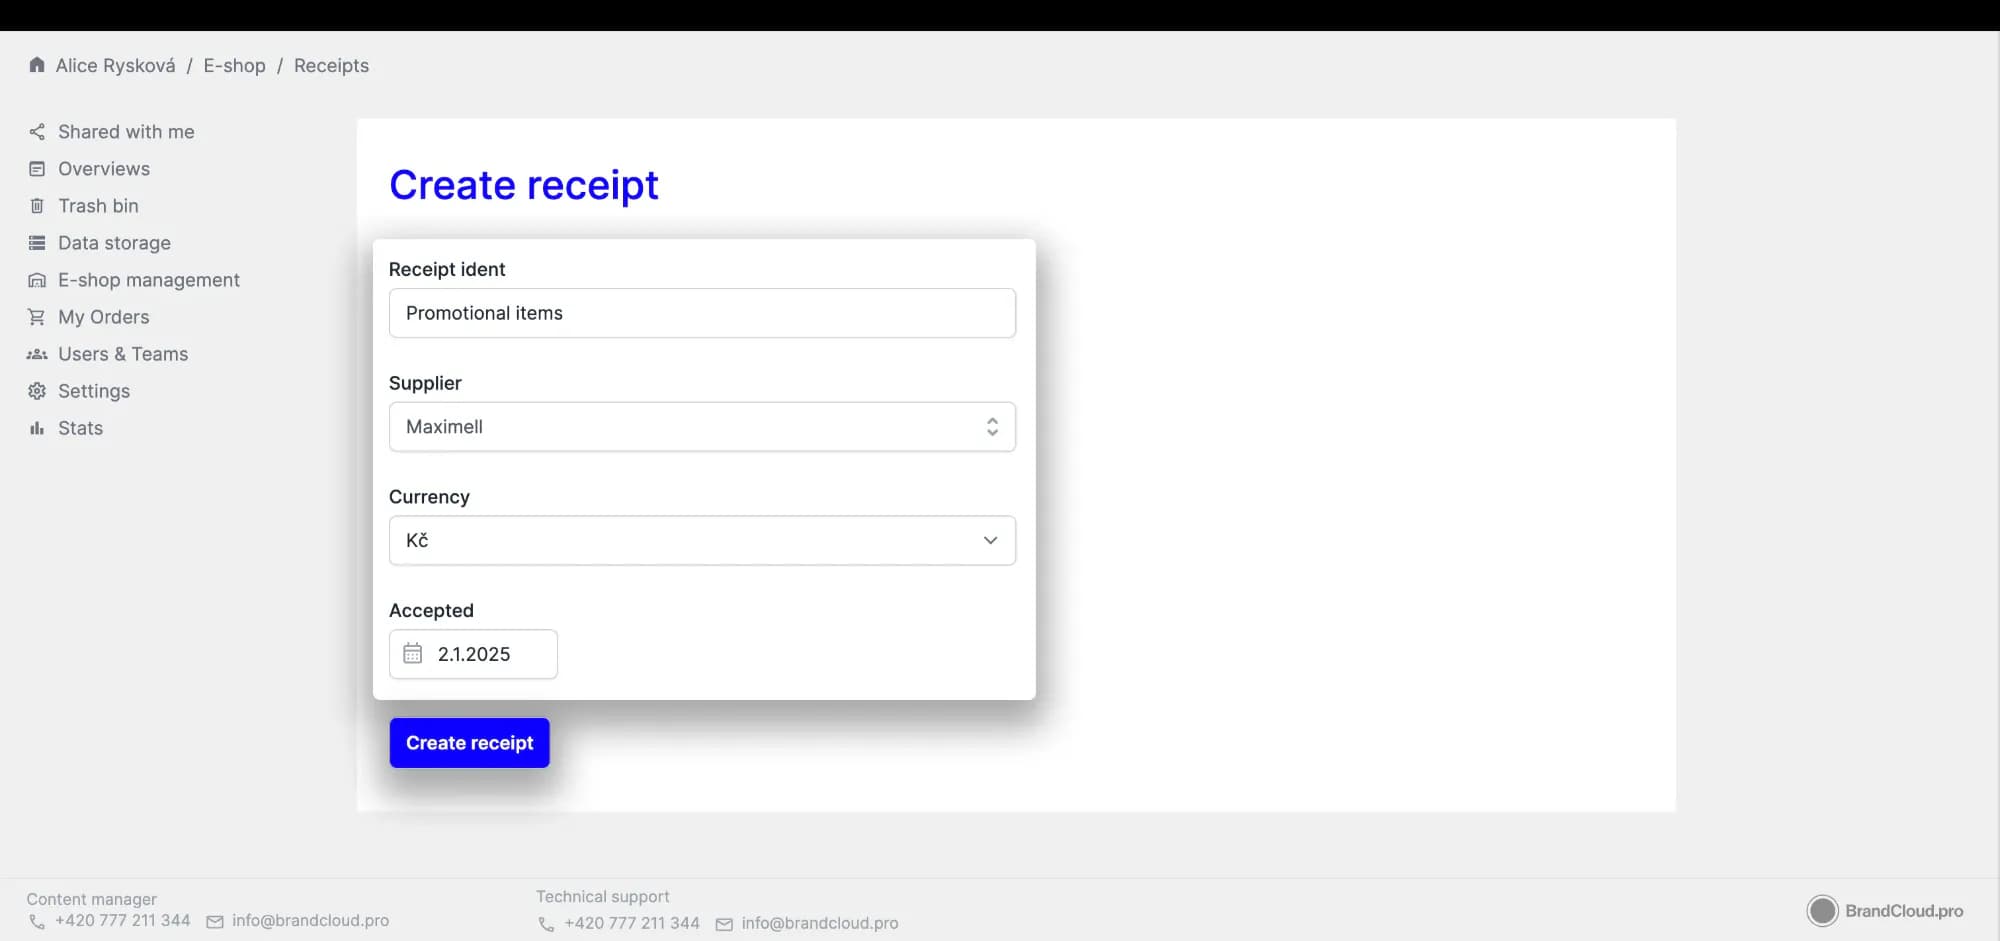
- Select Add receipt in the left column.
4. Enter the basic receipt details: Receipt ID, Supplier, Currency, and Receipt Date. Select Create receipt.
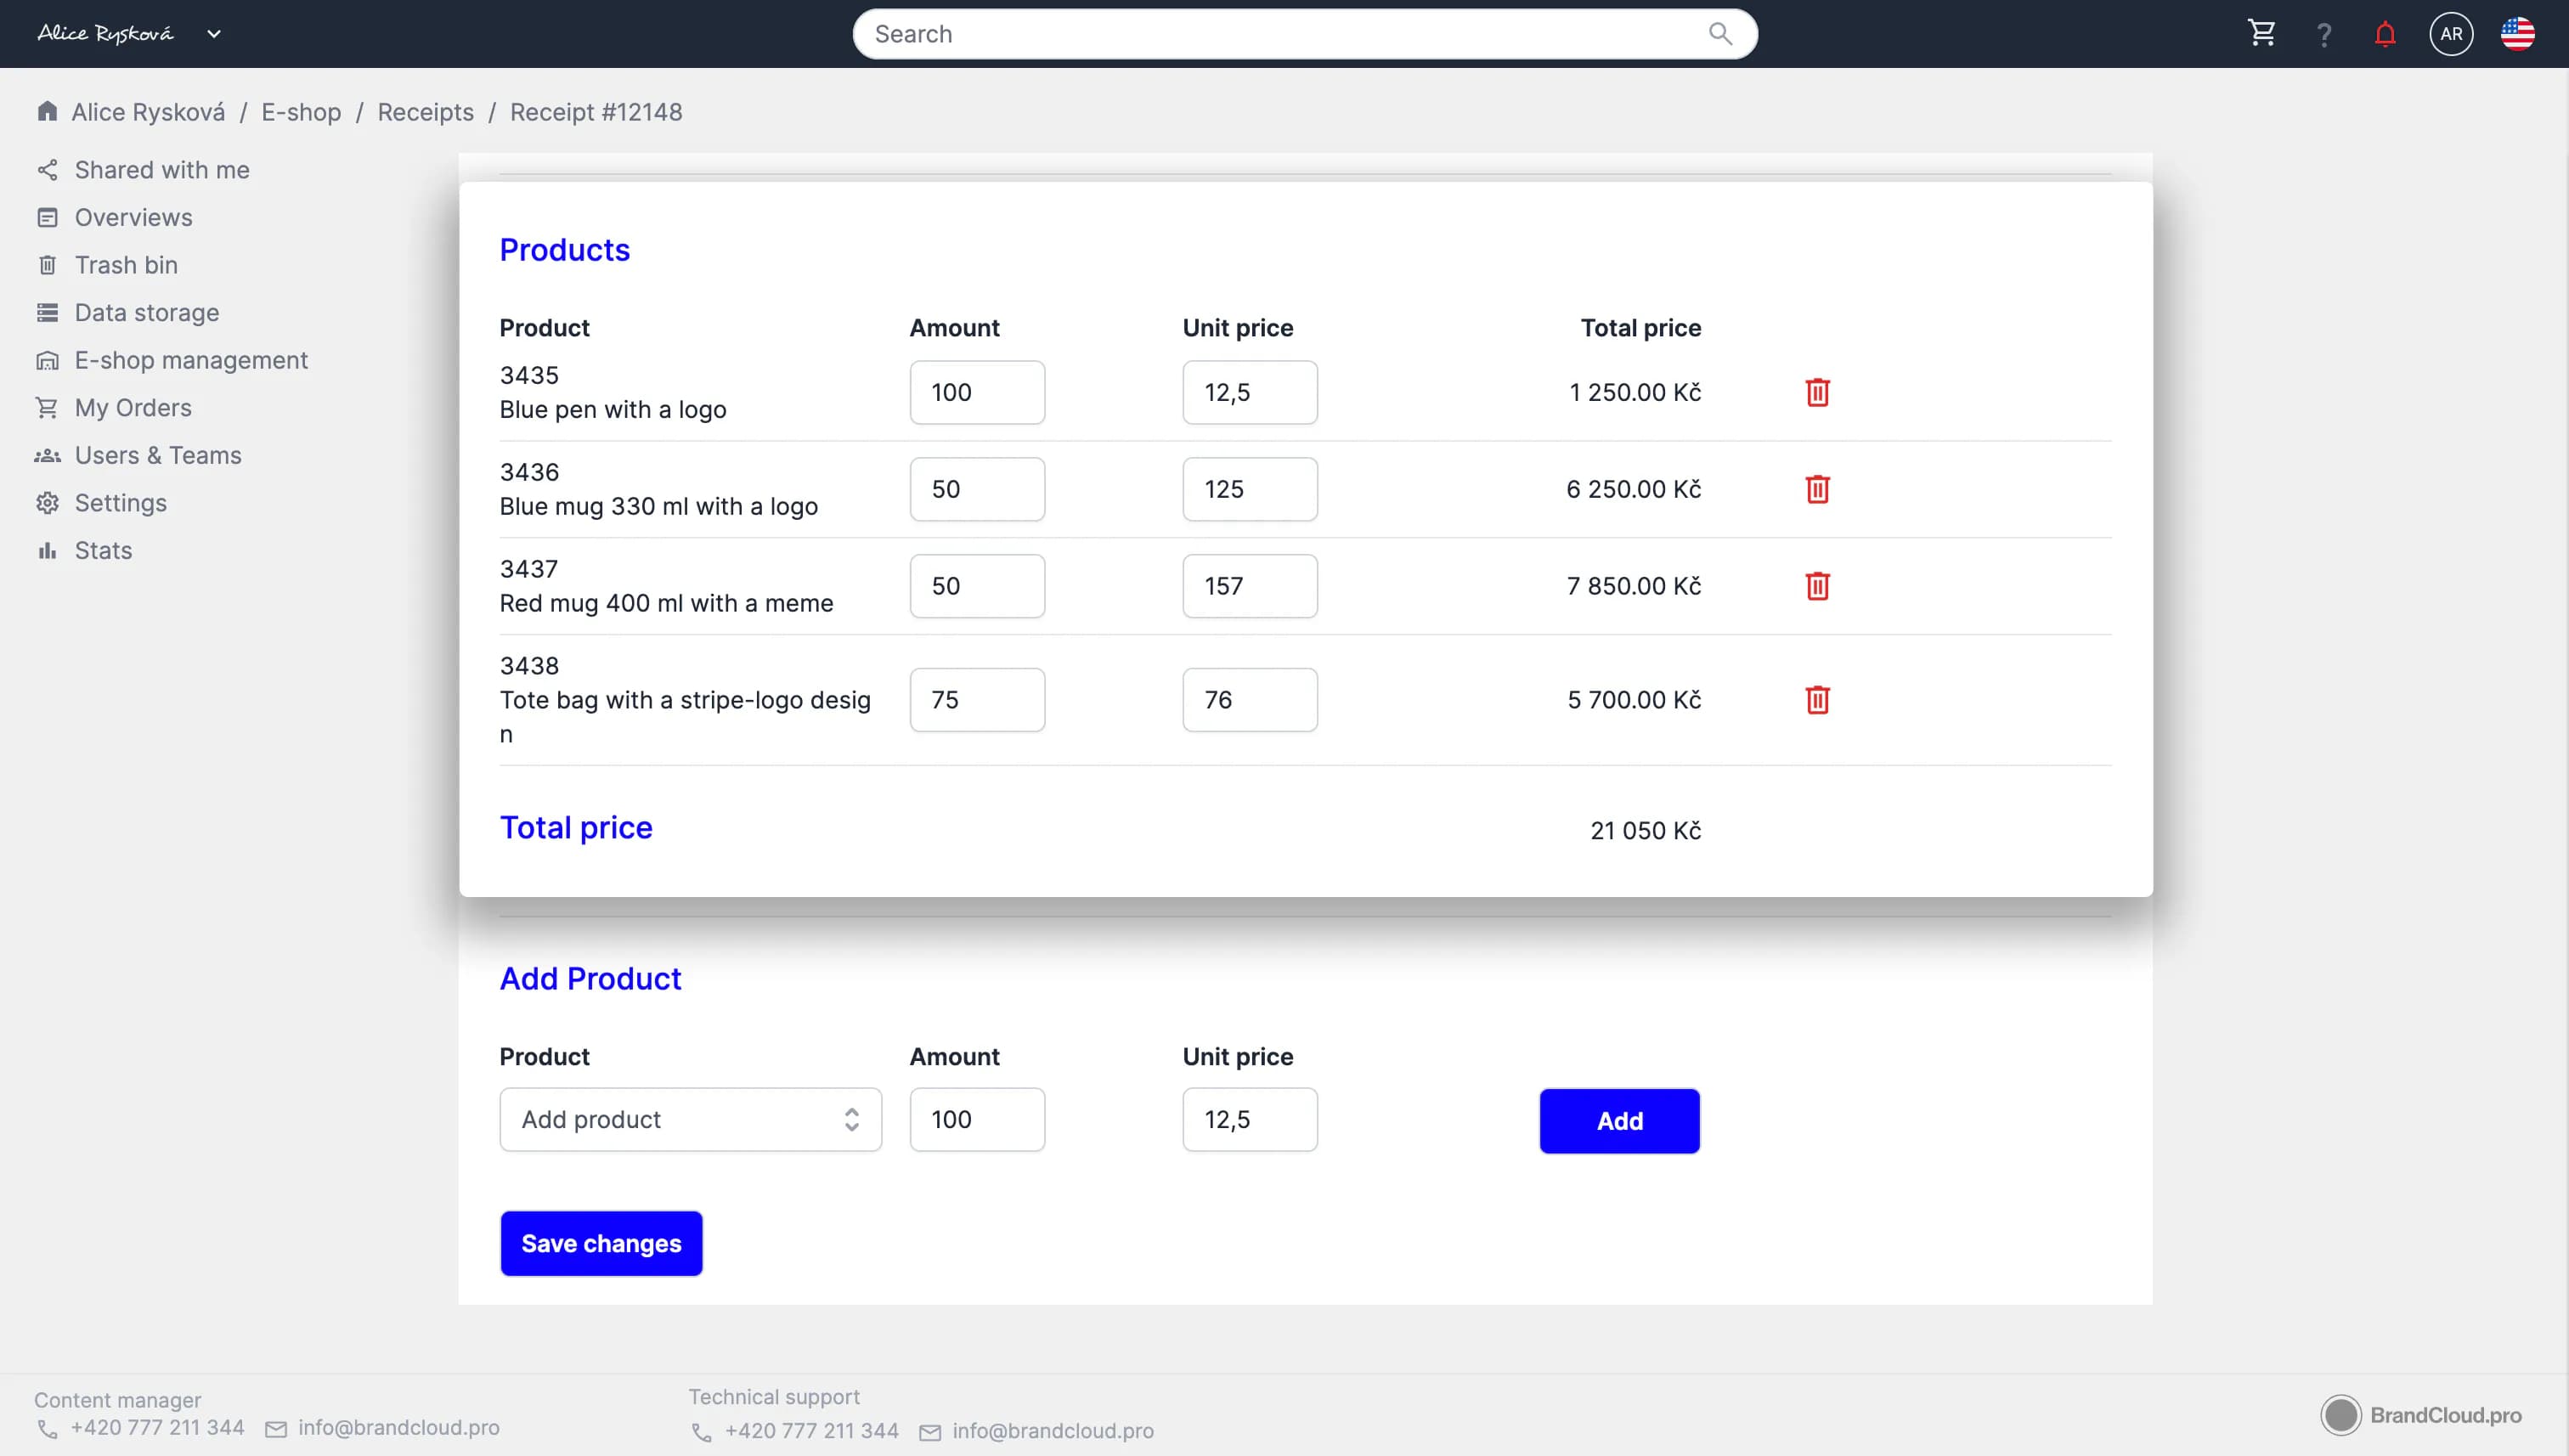
5. Add all products included in the receipt. For each product, specify the product code or name, quantity, and unit price.
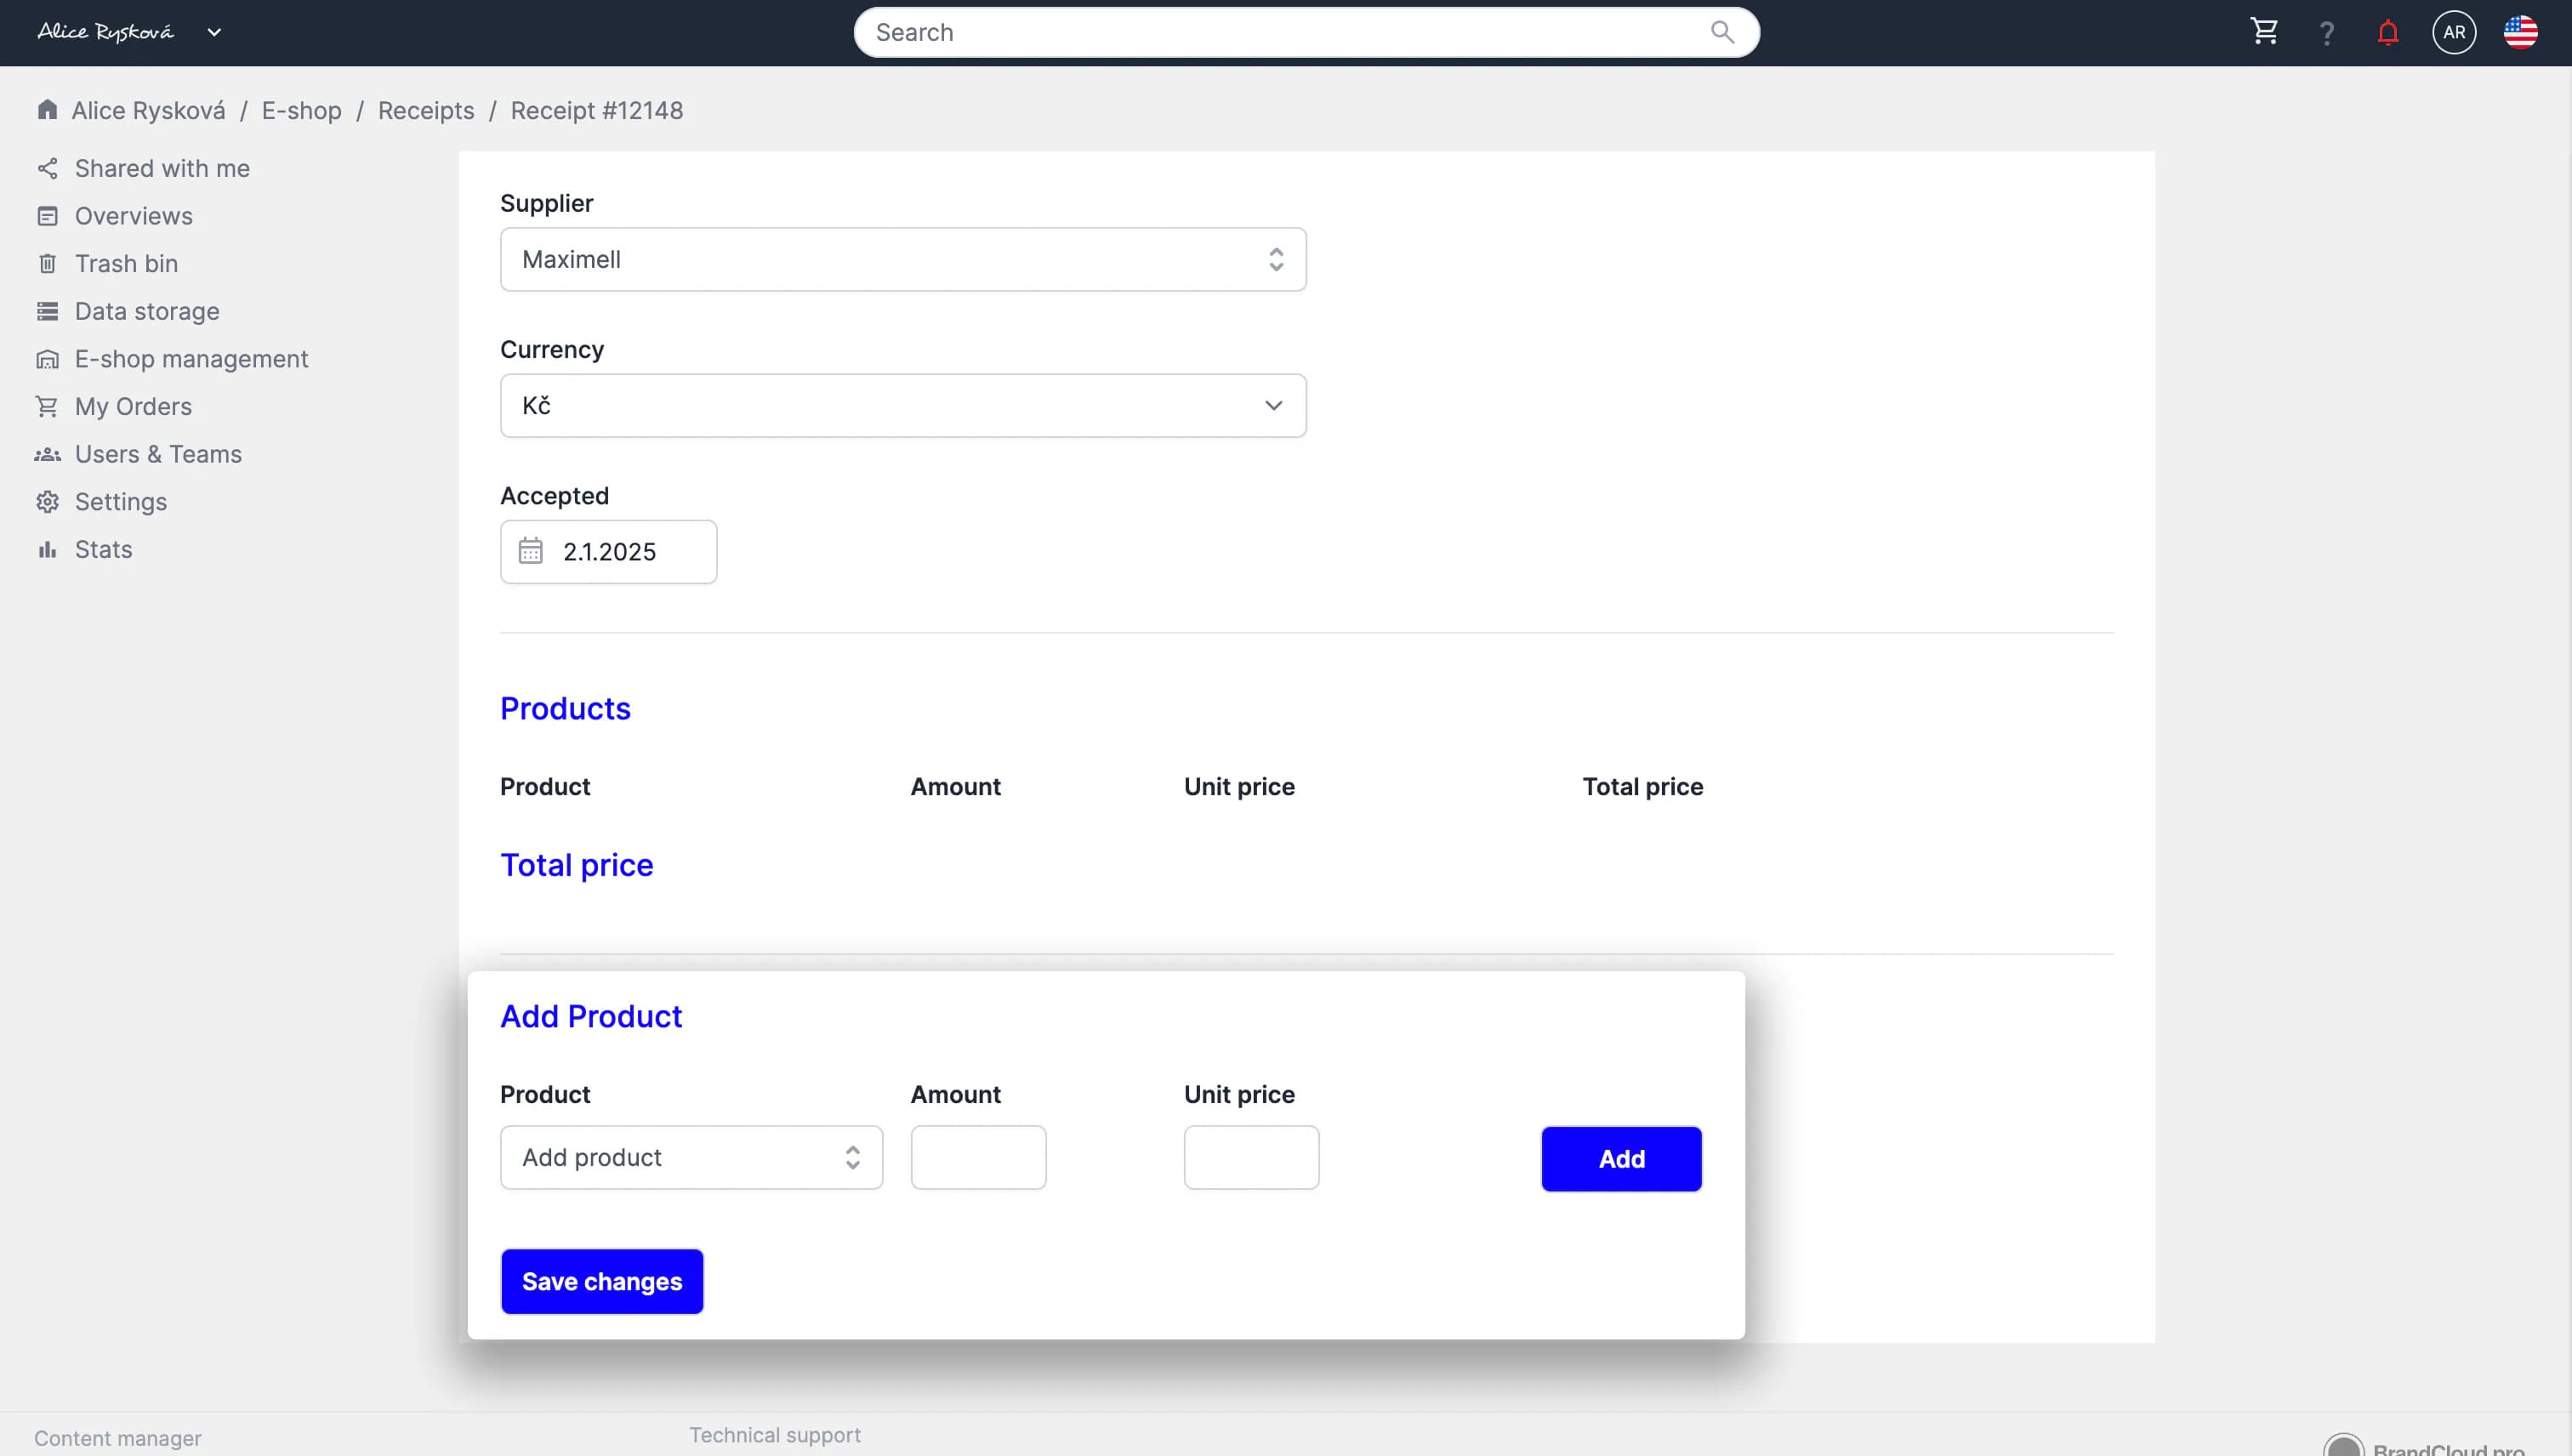
6. When all products are added, select Save changes to complete the stocking process.
7. Users can now order the products.
The e-shop is an add-on module. If you want to use it, contact support. E-shop-related features are not visible unless the module is activated.