Creating Content
A smartpage is designed to provide a clear and flexible structure for presenting content. It can be used to display a message, file, or other information. By adding and arranging elements, you can customize the page layout to meet your specific requirements.
Content creation guide
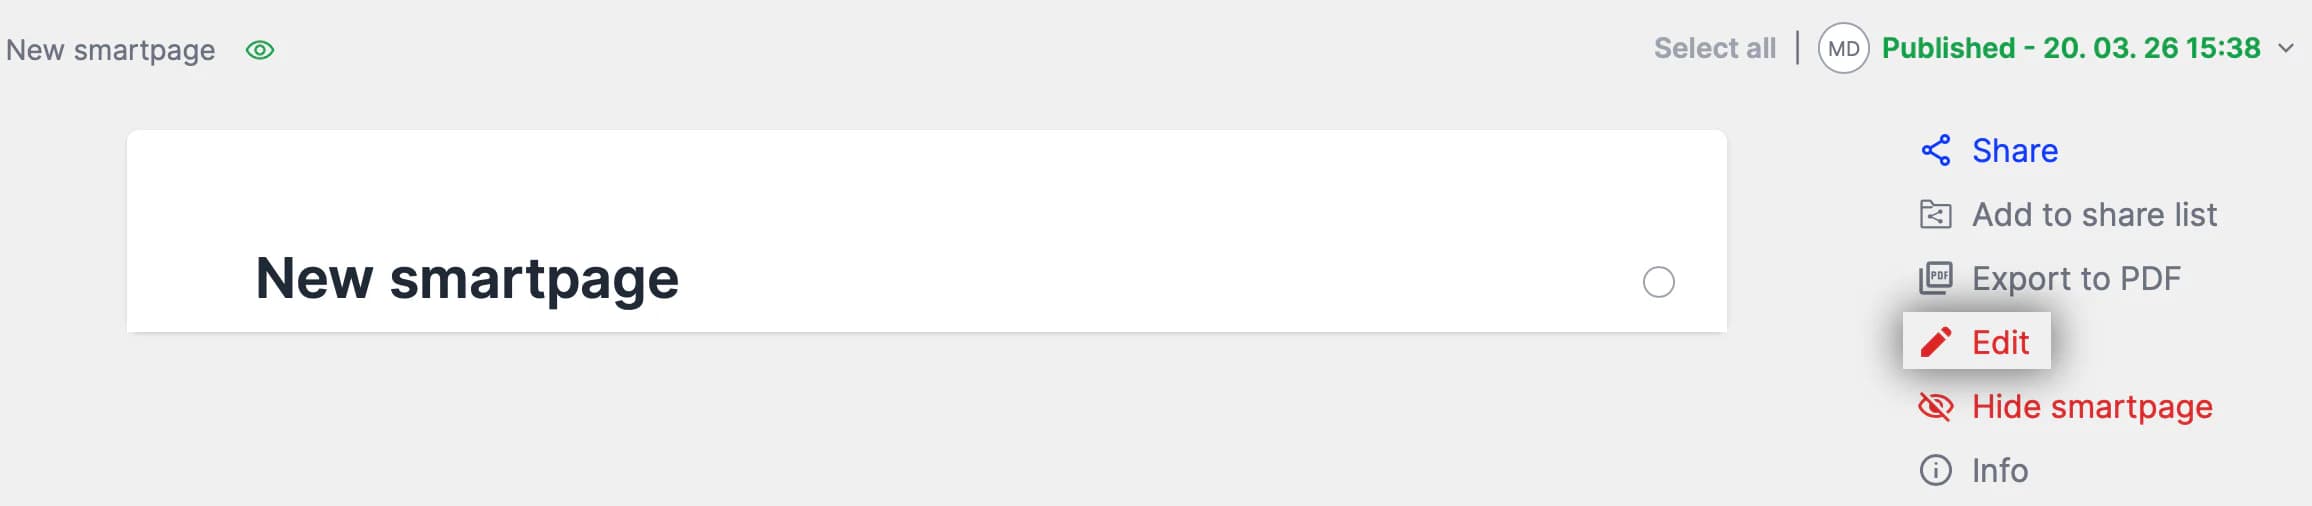
Editing a smartpage
To start editing, select the Edit button in the right-hand column of the smartpage. This opens the editing mode, where you can modify content, upload files, and use available tools.
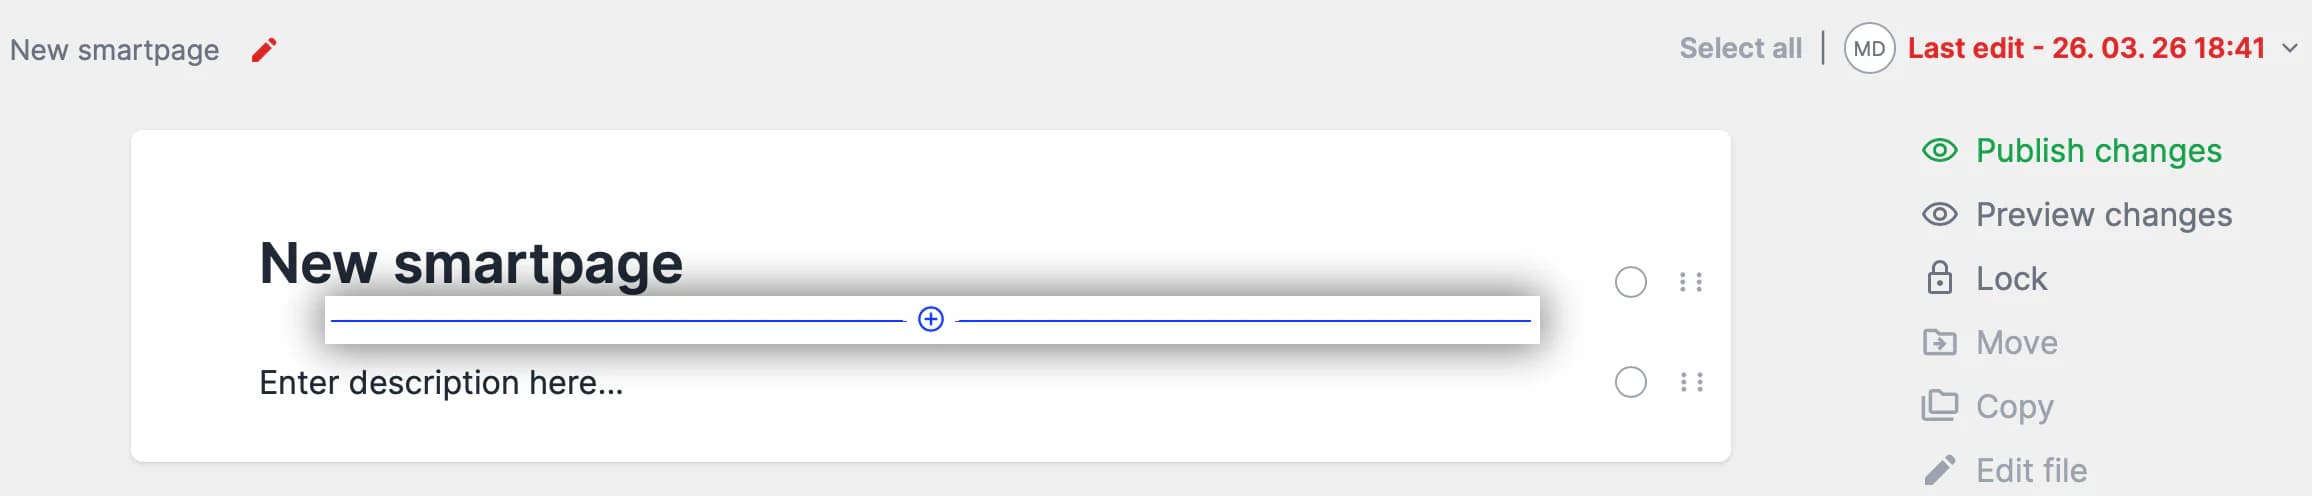
Adding elements
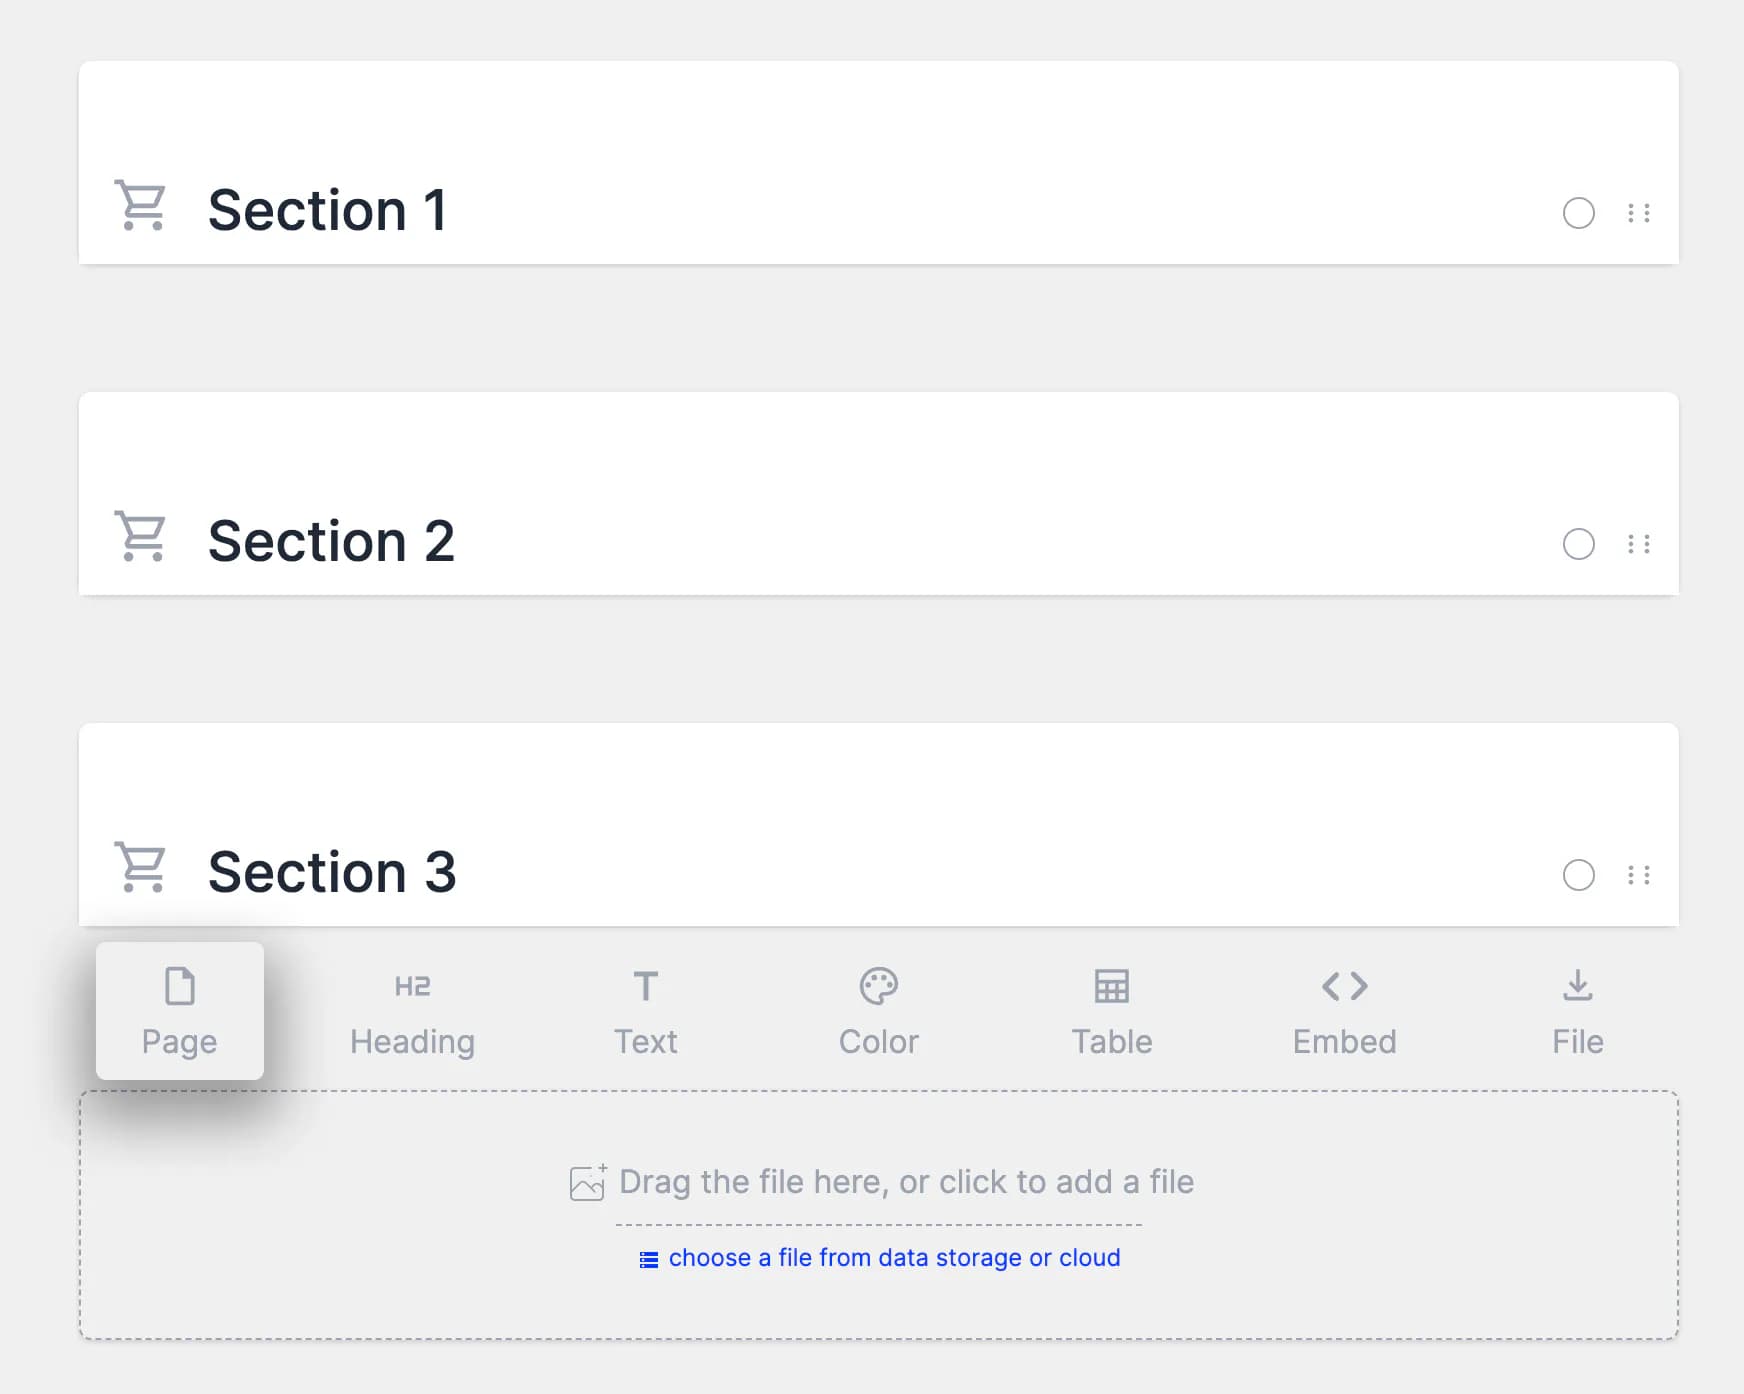
In edit mode, select the Add new element button to display all available components you can add to your smartpage.
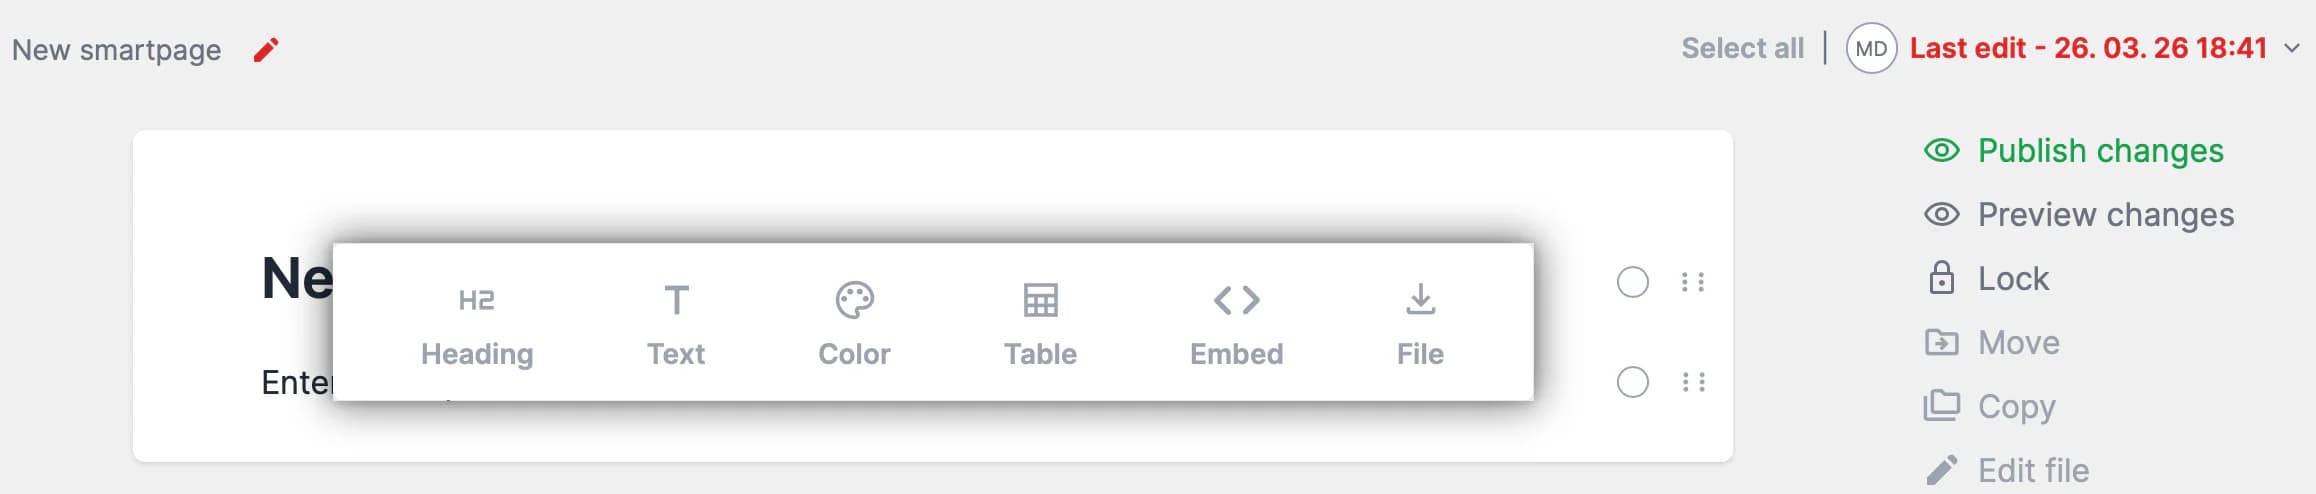
Smartpage elements
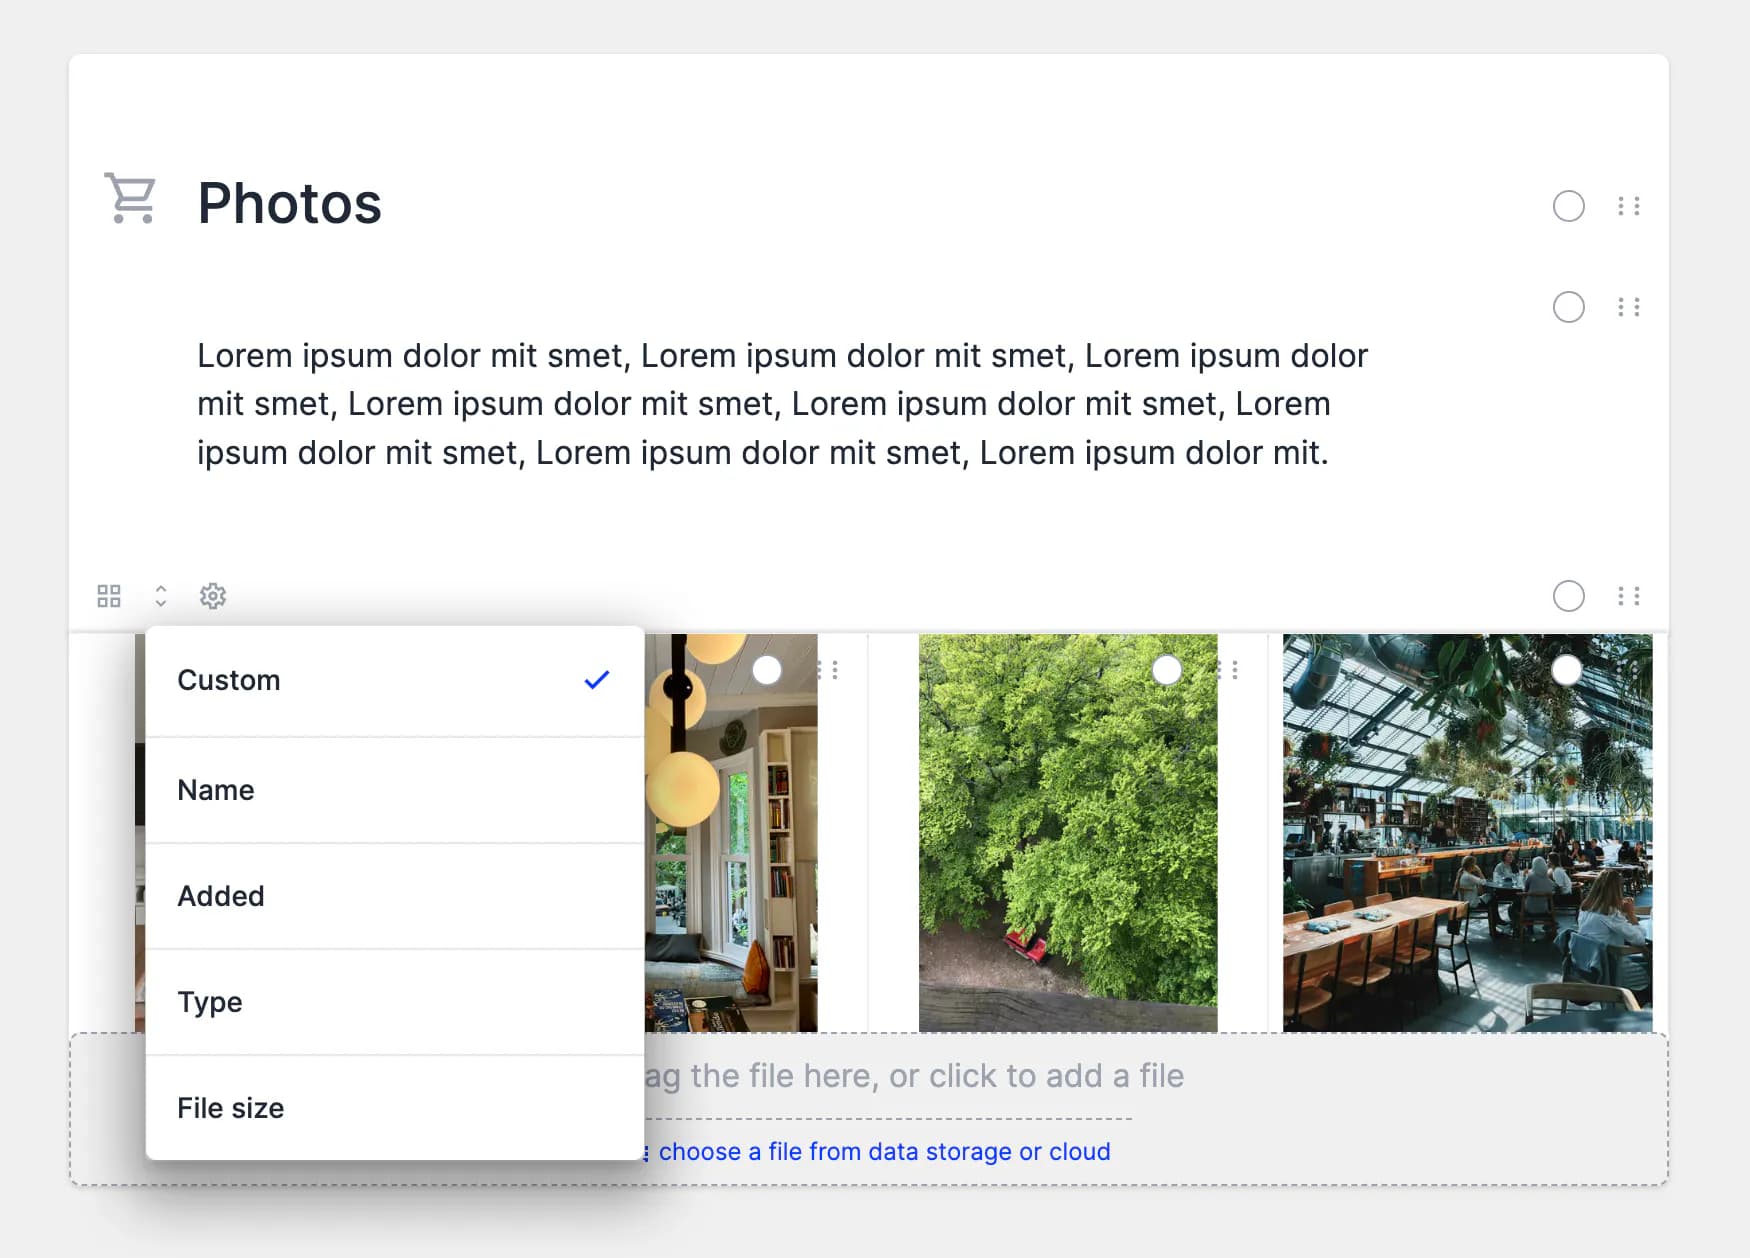
File
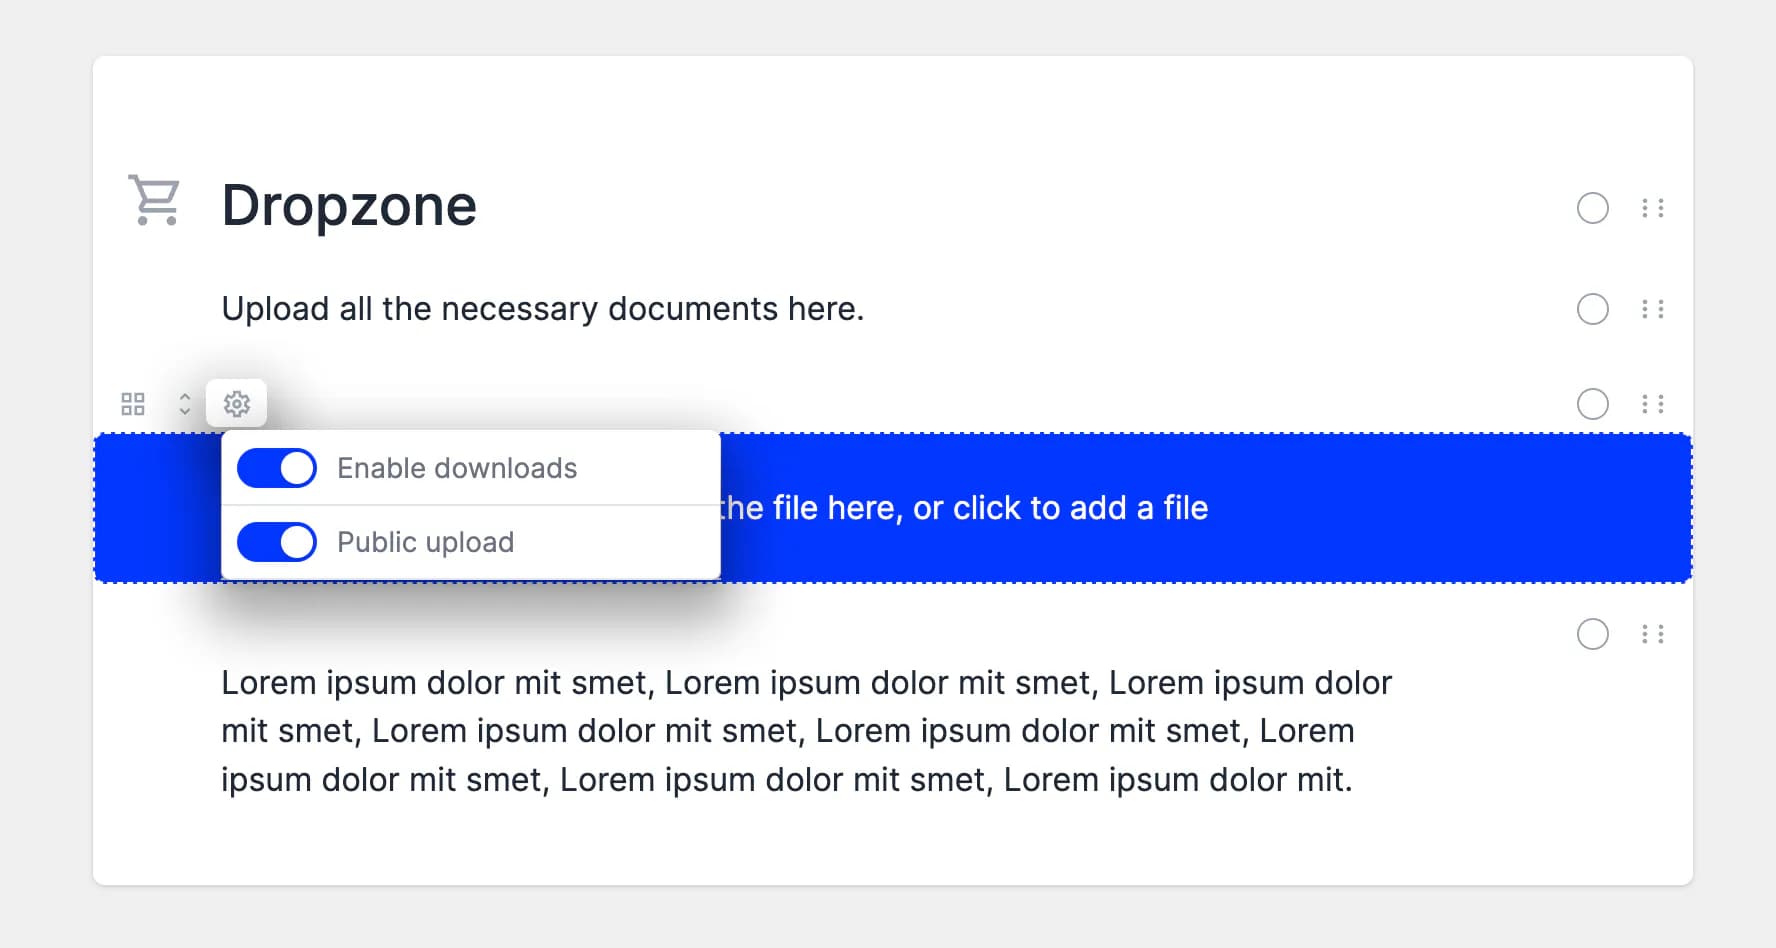
The File element allows you to upload and manage content. You can configure display options, set ordering preferences, or disable downloading content from this space.
You can also enable file uploads without requiring a login. This option allows colleagues, clients, photographers, or suppliers to upload files directly after receiving a shared link—no account is required.
💡 Tip:
You can upload files to multiple File elements or smartpages simultaneously. The affected smartpages will be published automatically once the uploads are complete, allowing you to continue working on other content.
Setting public upload
To enable public uploads, open the File element settings and activate the Recording option. After publishing, anyone — whether logged in or not — will be able to upload files to the smartpage.
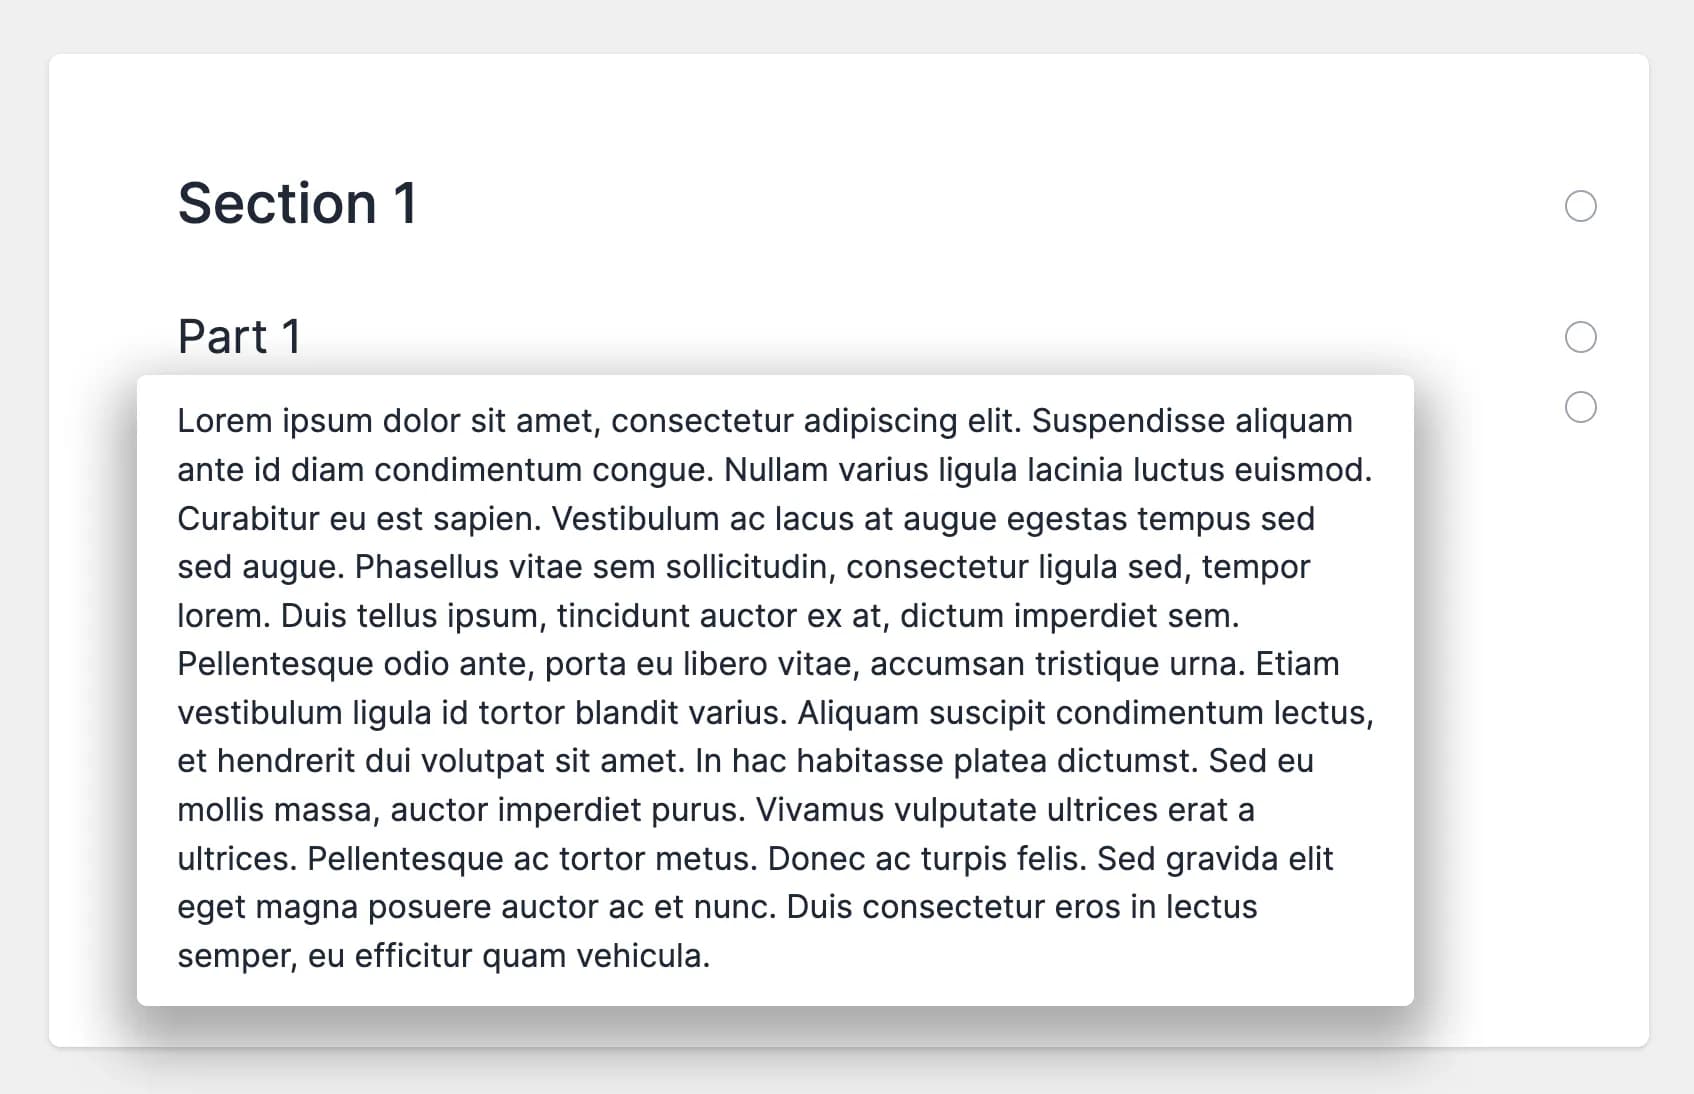
Page
The Page element allows you to divide the file page into sections for better content organization.
When users download uploaded files as a ZIP archive, the files will automatically be placed into folders that mirror the structure defined by the Page layout.
Heading
The Page element allows you to divide the file page into sections for better content organization.
When users download uploaded files as a ZIP archive, the files will automatically be placed into folders that mirror the structure defined by the Page layout.
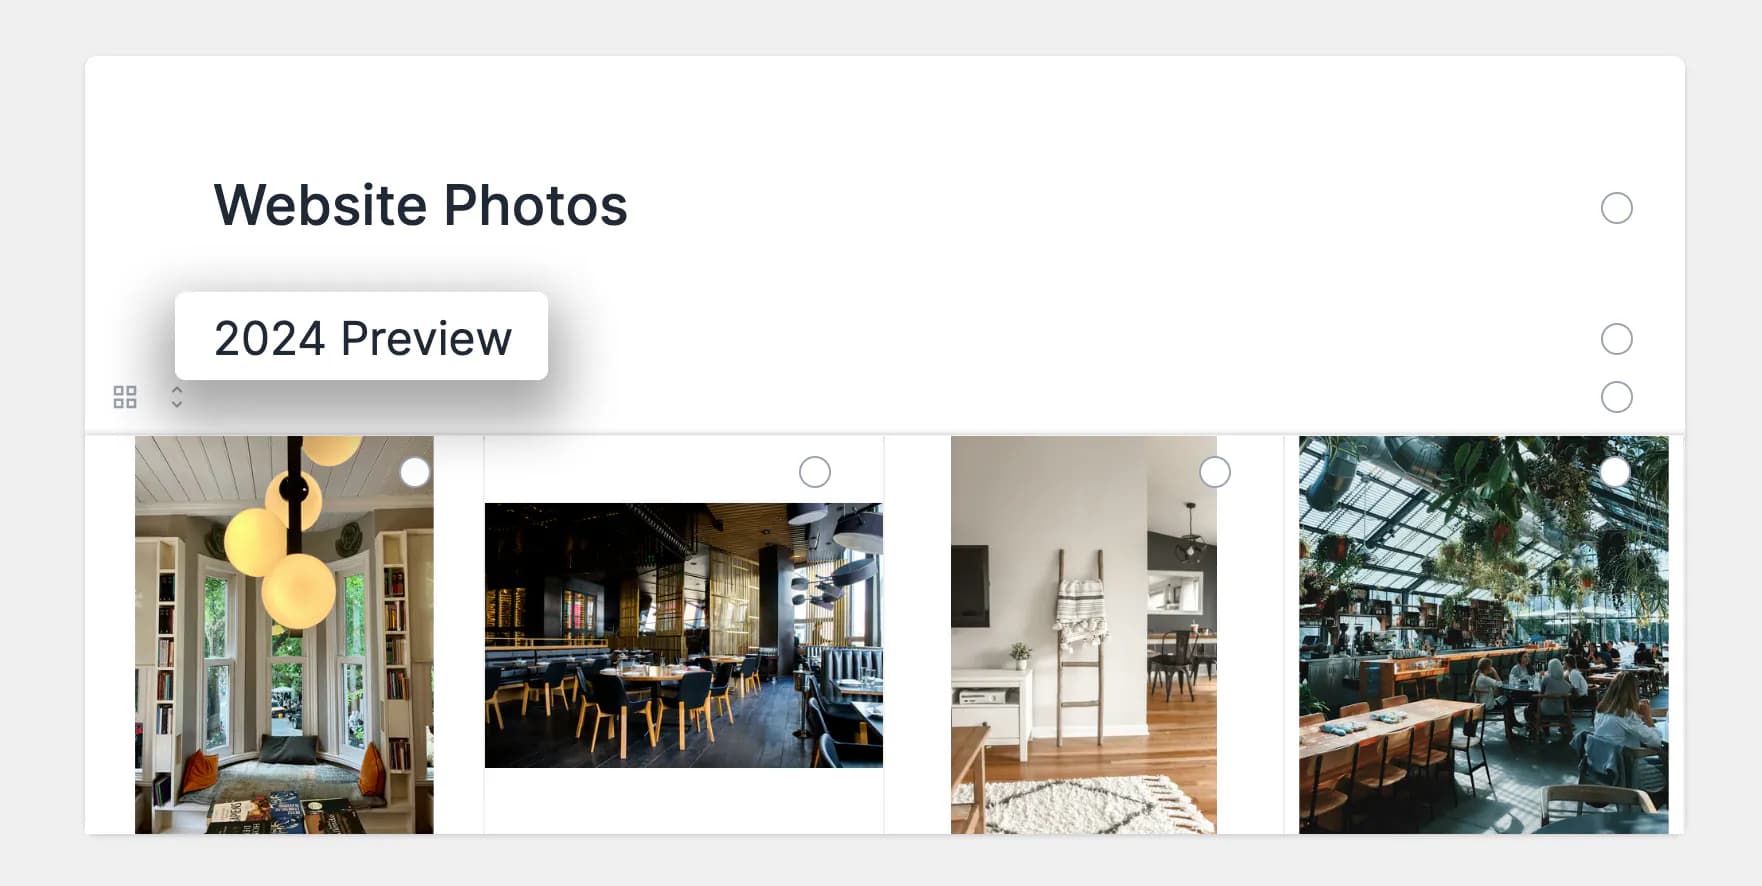
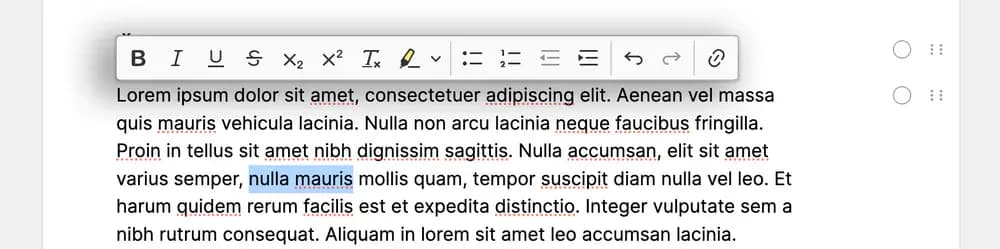
Text
The Text element allows you to insert and format written content.
Formatting options include:
- Bold, italic, underline, strikethrough, subscript, superscript, highlight, remove formatting
- Bulleted or numbered lists, indentation adjustments
- Undo and redo
- Insert hyperlinks
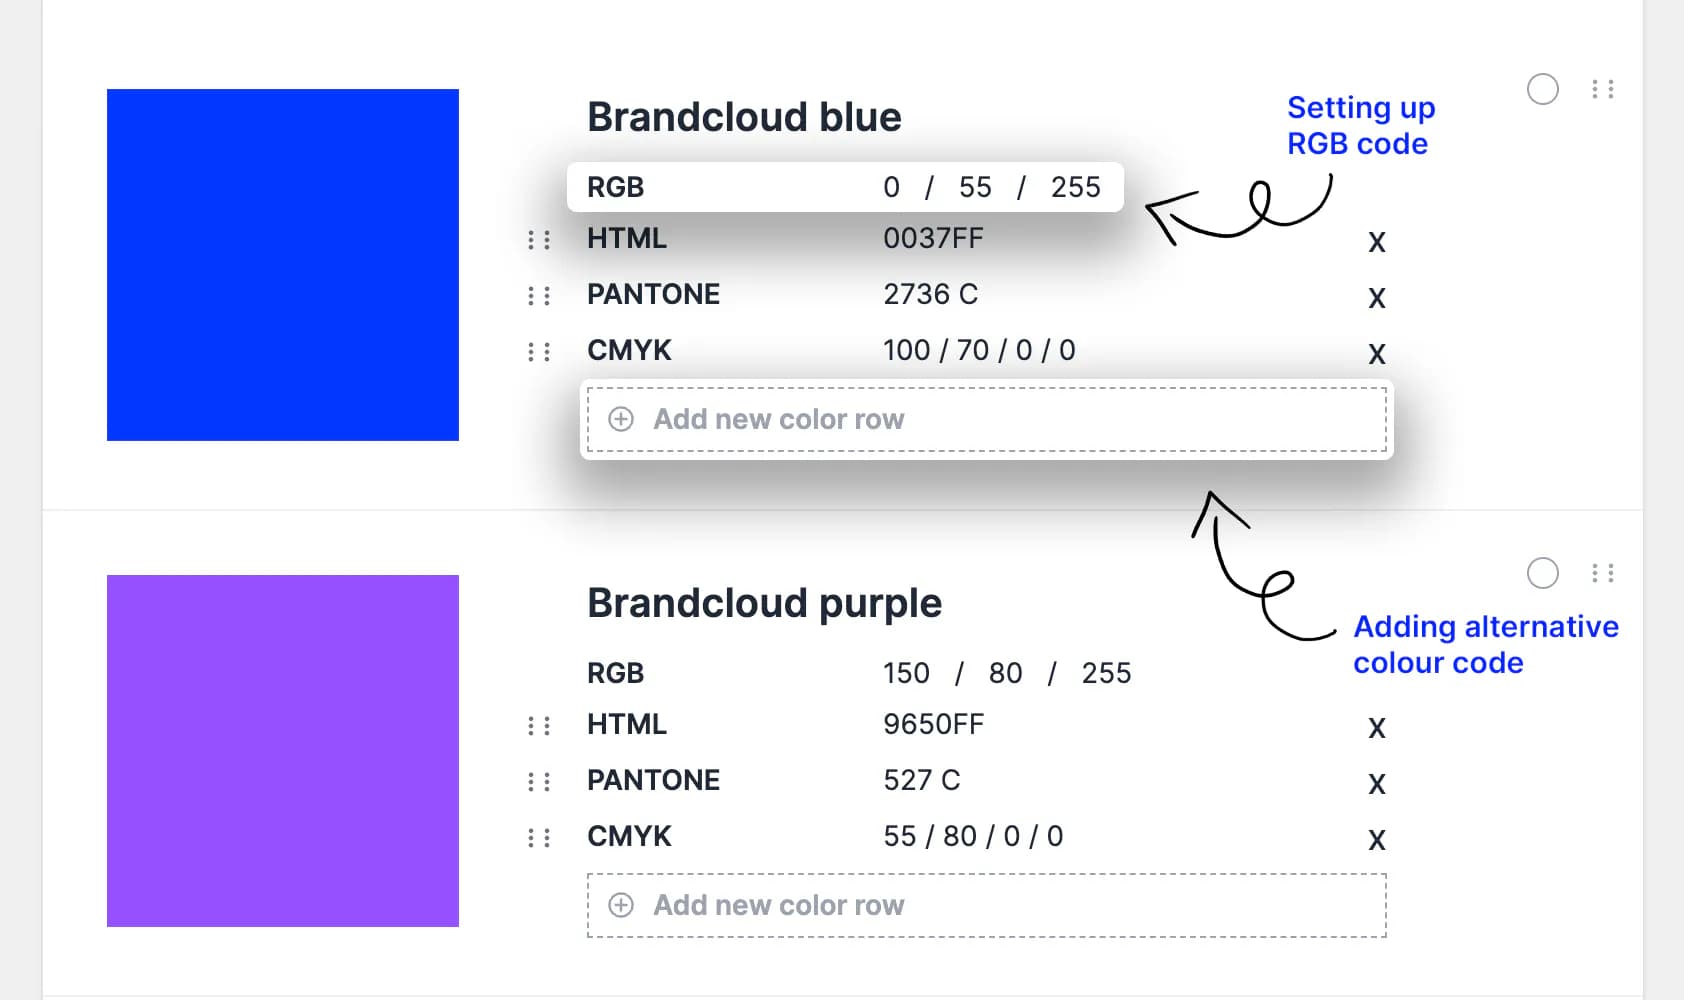
Color
The Color element enables you to insert any color using RGB or HEX values. You can also add additional variations manually, such as HEX or CMYK codes.
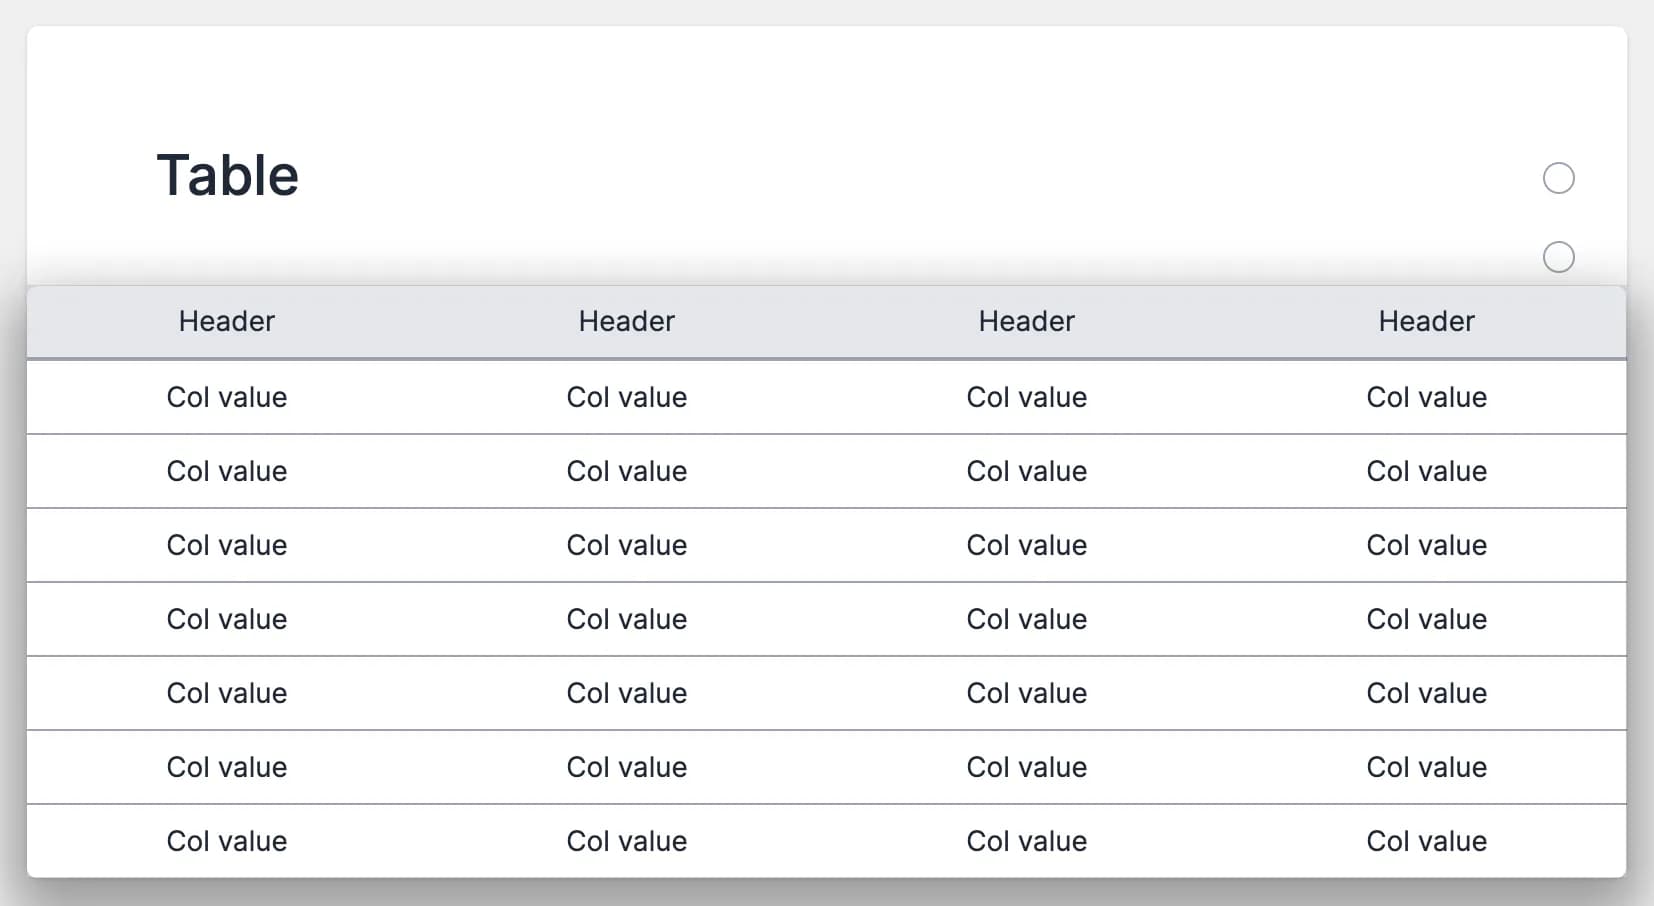
Table
Use the Table element to add an editable table to your smartpage. You can define the number of columns, rows, headers, and content fields as needed.
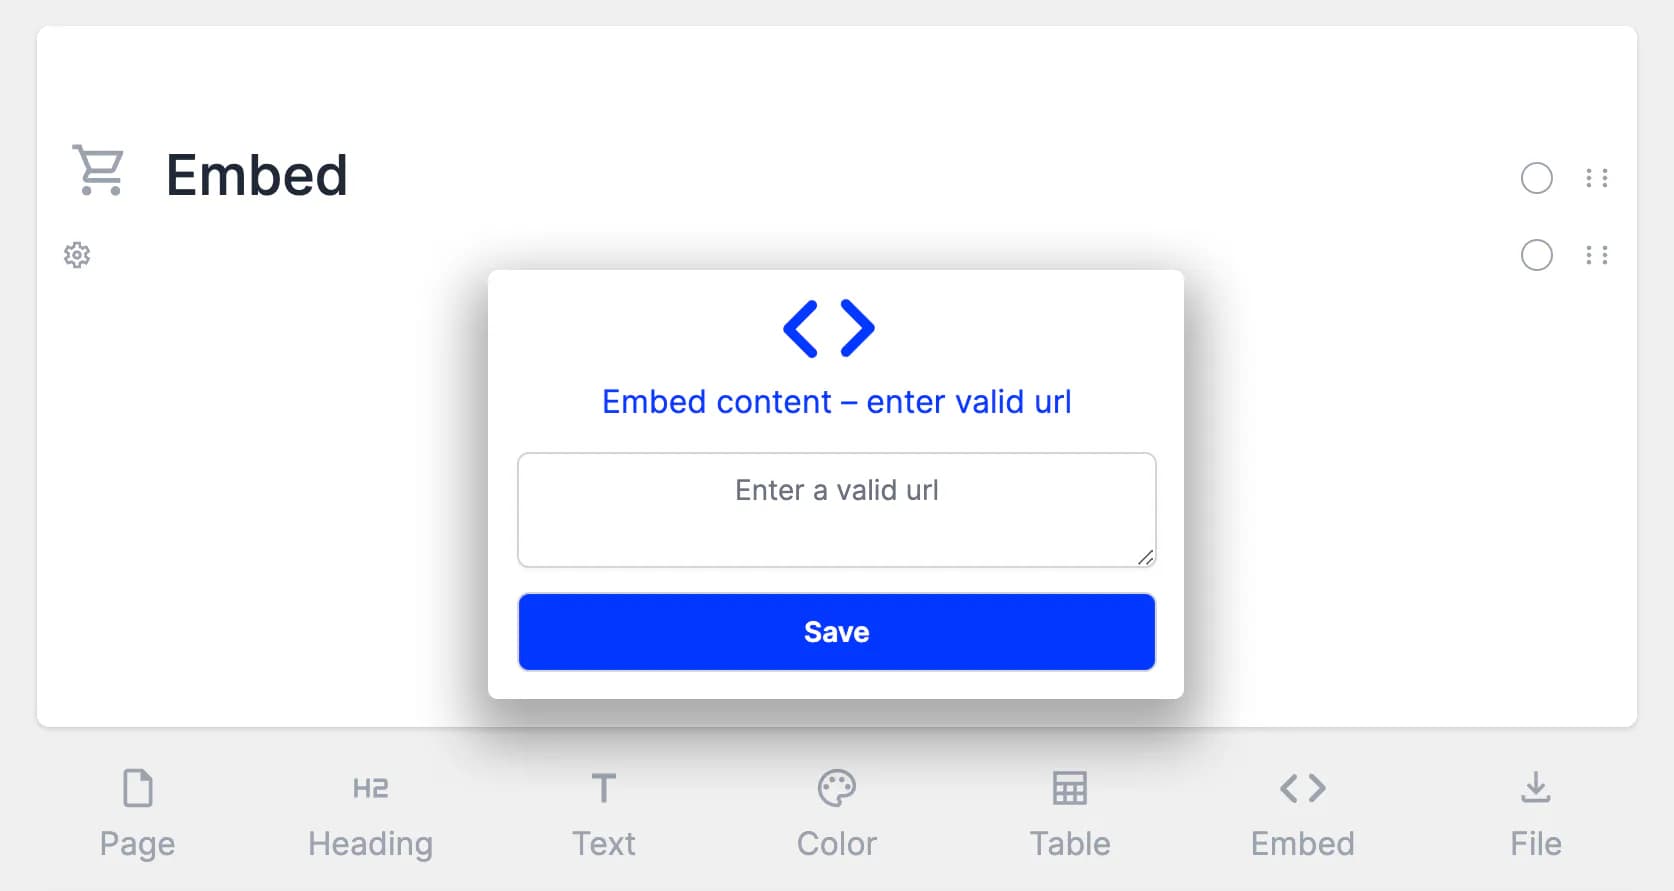
Embed
The Embed element allows you to integrate external applications and content directly into a smartpage, combining multiple work environments in one place.
Supported sources include Office 365, Google Workspace apps, YouTube, Vimeo, and any service that provides iframe embedding.
How to embed content
- Copy the URL or embed code from the external source.
- Add the Embed element to your smartpage.
- Paste the valid URL or embed code and save.
Embedded content inherits the permissions of the source page.